Go Back

Homemade Biscuits

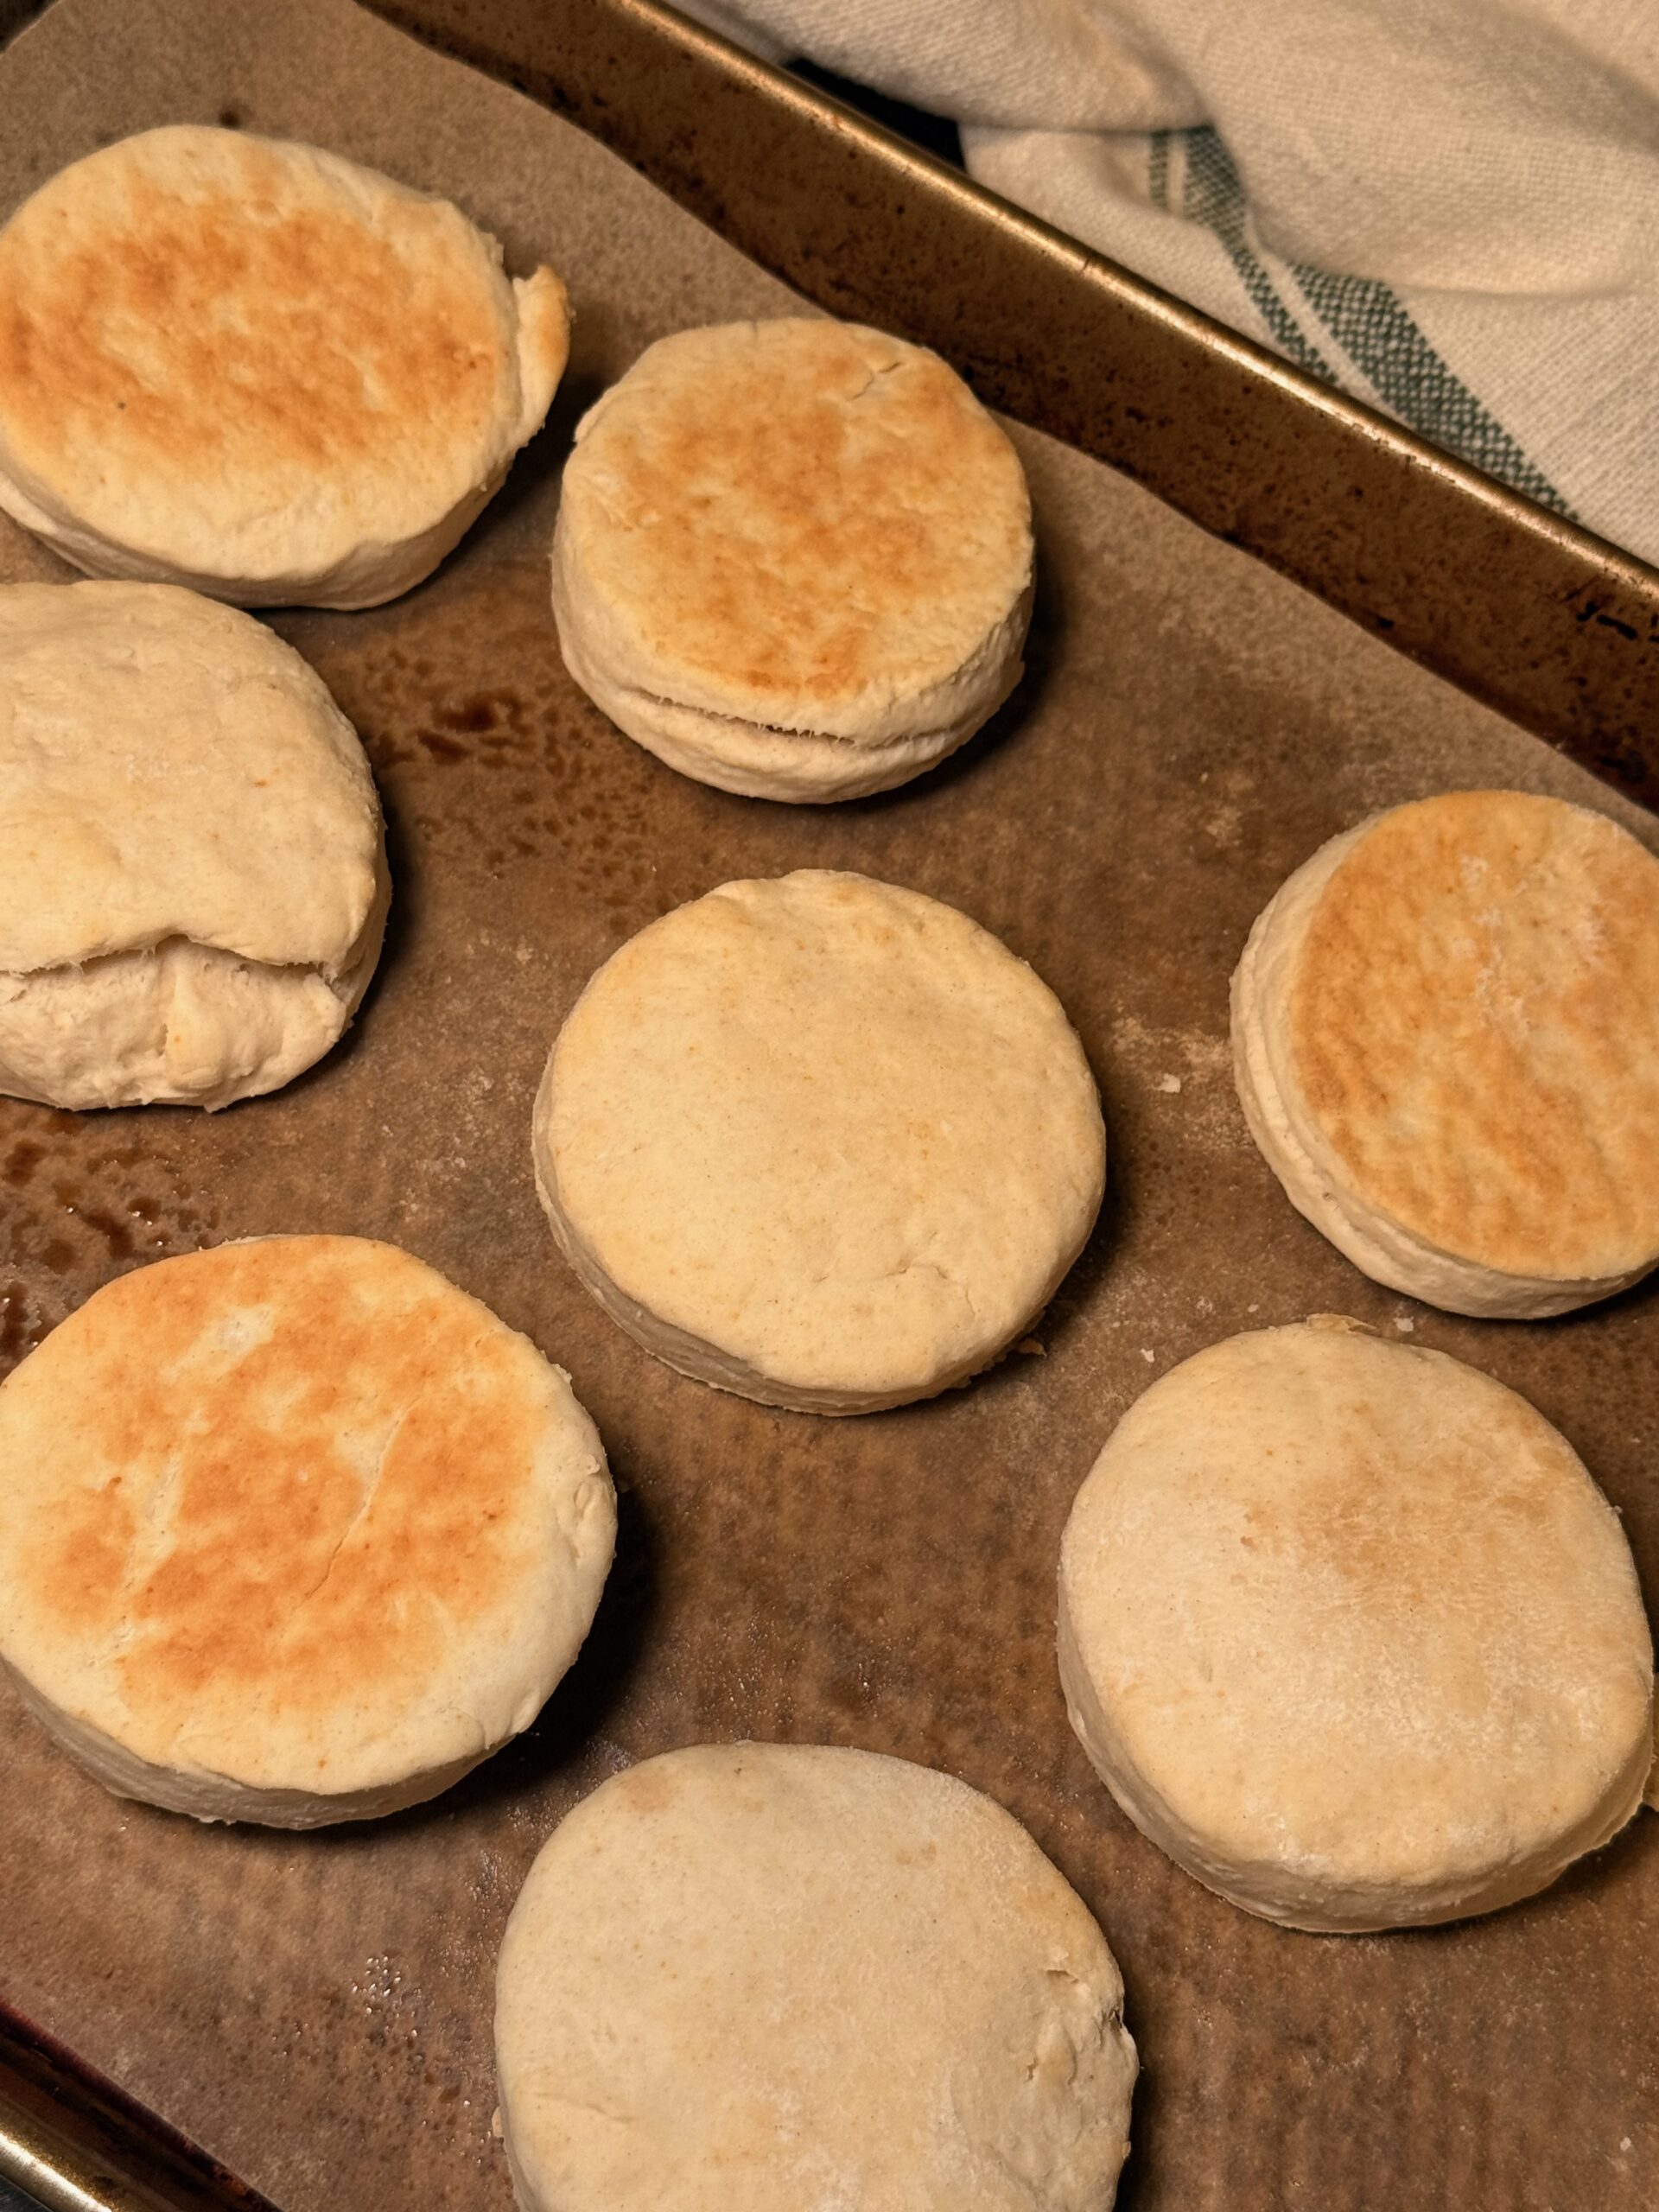
These homemade biscuits use flour, butter, milk, and baking powder for a tall, fluffy, golden biscuit ready in 23 minutes. An easy from-scratch biscuit recipe that works every time.
Prep Time 10 minutes
Cook Time 13 minutes
Servings: 13 biscuits
Course: Side Dish
Cuisine: American, Southern

Ingredients
  

  • 2 cups all-purpose flour plus more for rolling and cutting
  • 1 tablespoon baking powder
  • 1 teaspoon salt
  • 1 tablespoon sugar
  • cup unsalted butter cold and cubed
  • 1 cup milk

Instructions
 

  1. Preheat the oven to 425°F. Line a baking sheet with parchment paper.
  2. In a large bowl, whisk together the flour, baking powder, salt, and sugar until combined.
  3. Add the cold cubed butter to the dry ingredients. Use your fingers or a pastry cutter to work the butter into the flour until the mixture resembles coarse crumbs with some pea-sized pieces of butter remaining.
  4. Pour in the milk and stir just until the dough comes together. Do not overmix.
  5. Turn the dough out onto a lightly floured surface. Knead gently 3 to 4 times just until the dough is smooth. Pat or roll to about ¾ inch thickness.
  6. Using a round biscuit cutter or the rim of a glass, cut out biscuits and place them on the prepared baking sheet with the sides touching slightly for soft-sided biscuits or spaced apart for crispier edges.
  7. Bake at 425°F for 13 minutes until the tops are golden brown.
  8. Serve warm.

Notes

  • Keep the butter cold. Cold butter is what creates the flaky layers in a homemade biscuit. If the butter warms up and melts into the flour before baking the biscuits will be dense rather than flaky and layered.
  • Do not overwork the dough. Knead only 3 to 4 times just until the dough holds together. Overworking develops the gluten and produces tough, flat biscuits rather than tall, tender ones.
  • Press the biscuit cutter straight down without twisting. Twisting seals the edges and prevents the biscuits from rising properly.
  • Place the biscuits close together on the pan for softer sides or spaced apart for crispier edges throughout.