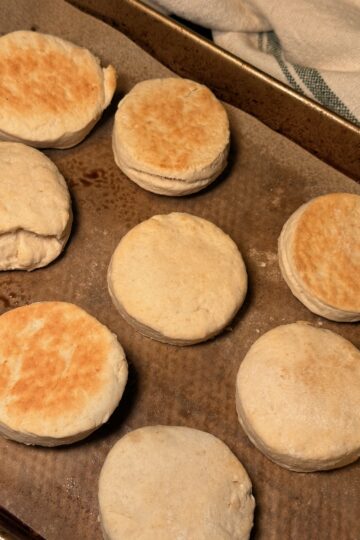

This Dutch oven bread is the homemade artisan loaf that produces a crackling, deeply golden crust and a soft, open, airy crumb with five simple ingredients and almost no hands-on technique. Yeast proofed in warm water with a pinch of sugar, mixed with salt and bread flour into a shaggy dough, left to rise for an hour, gently turned out and shaped into a round without deflating any of the air built up inside, rested for another hour, and then baked in a preheated Dutch oven at 450°F, covered for the first 30 minutes to trap steam and build the crust, uncovered for the final 10 minutes to develop the deep golden color. The result is a loaf that looks and sounds like a proper bakery bread and is made entirely at home with a few hours of mostly passive time.
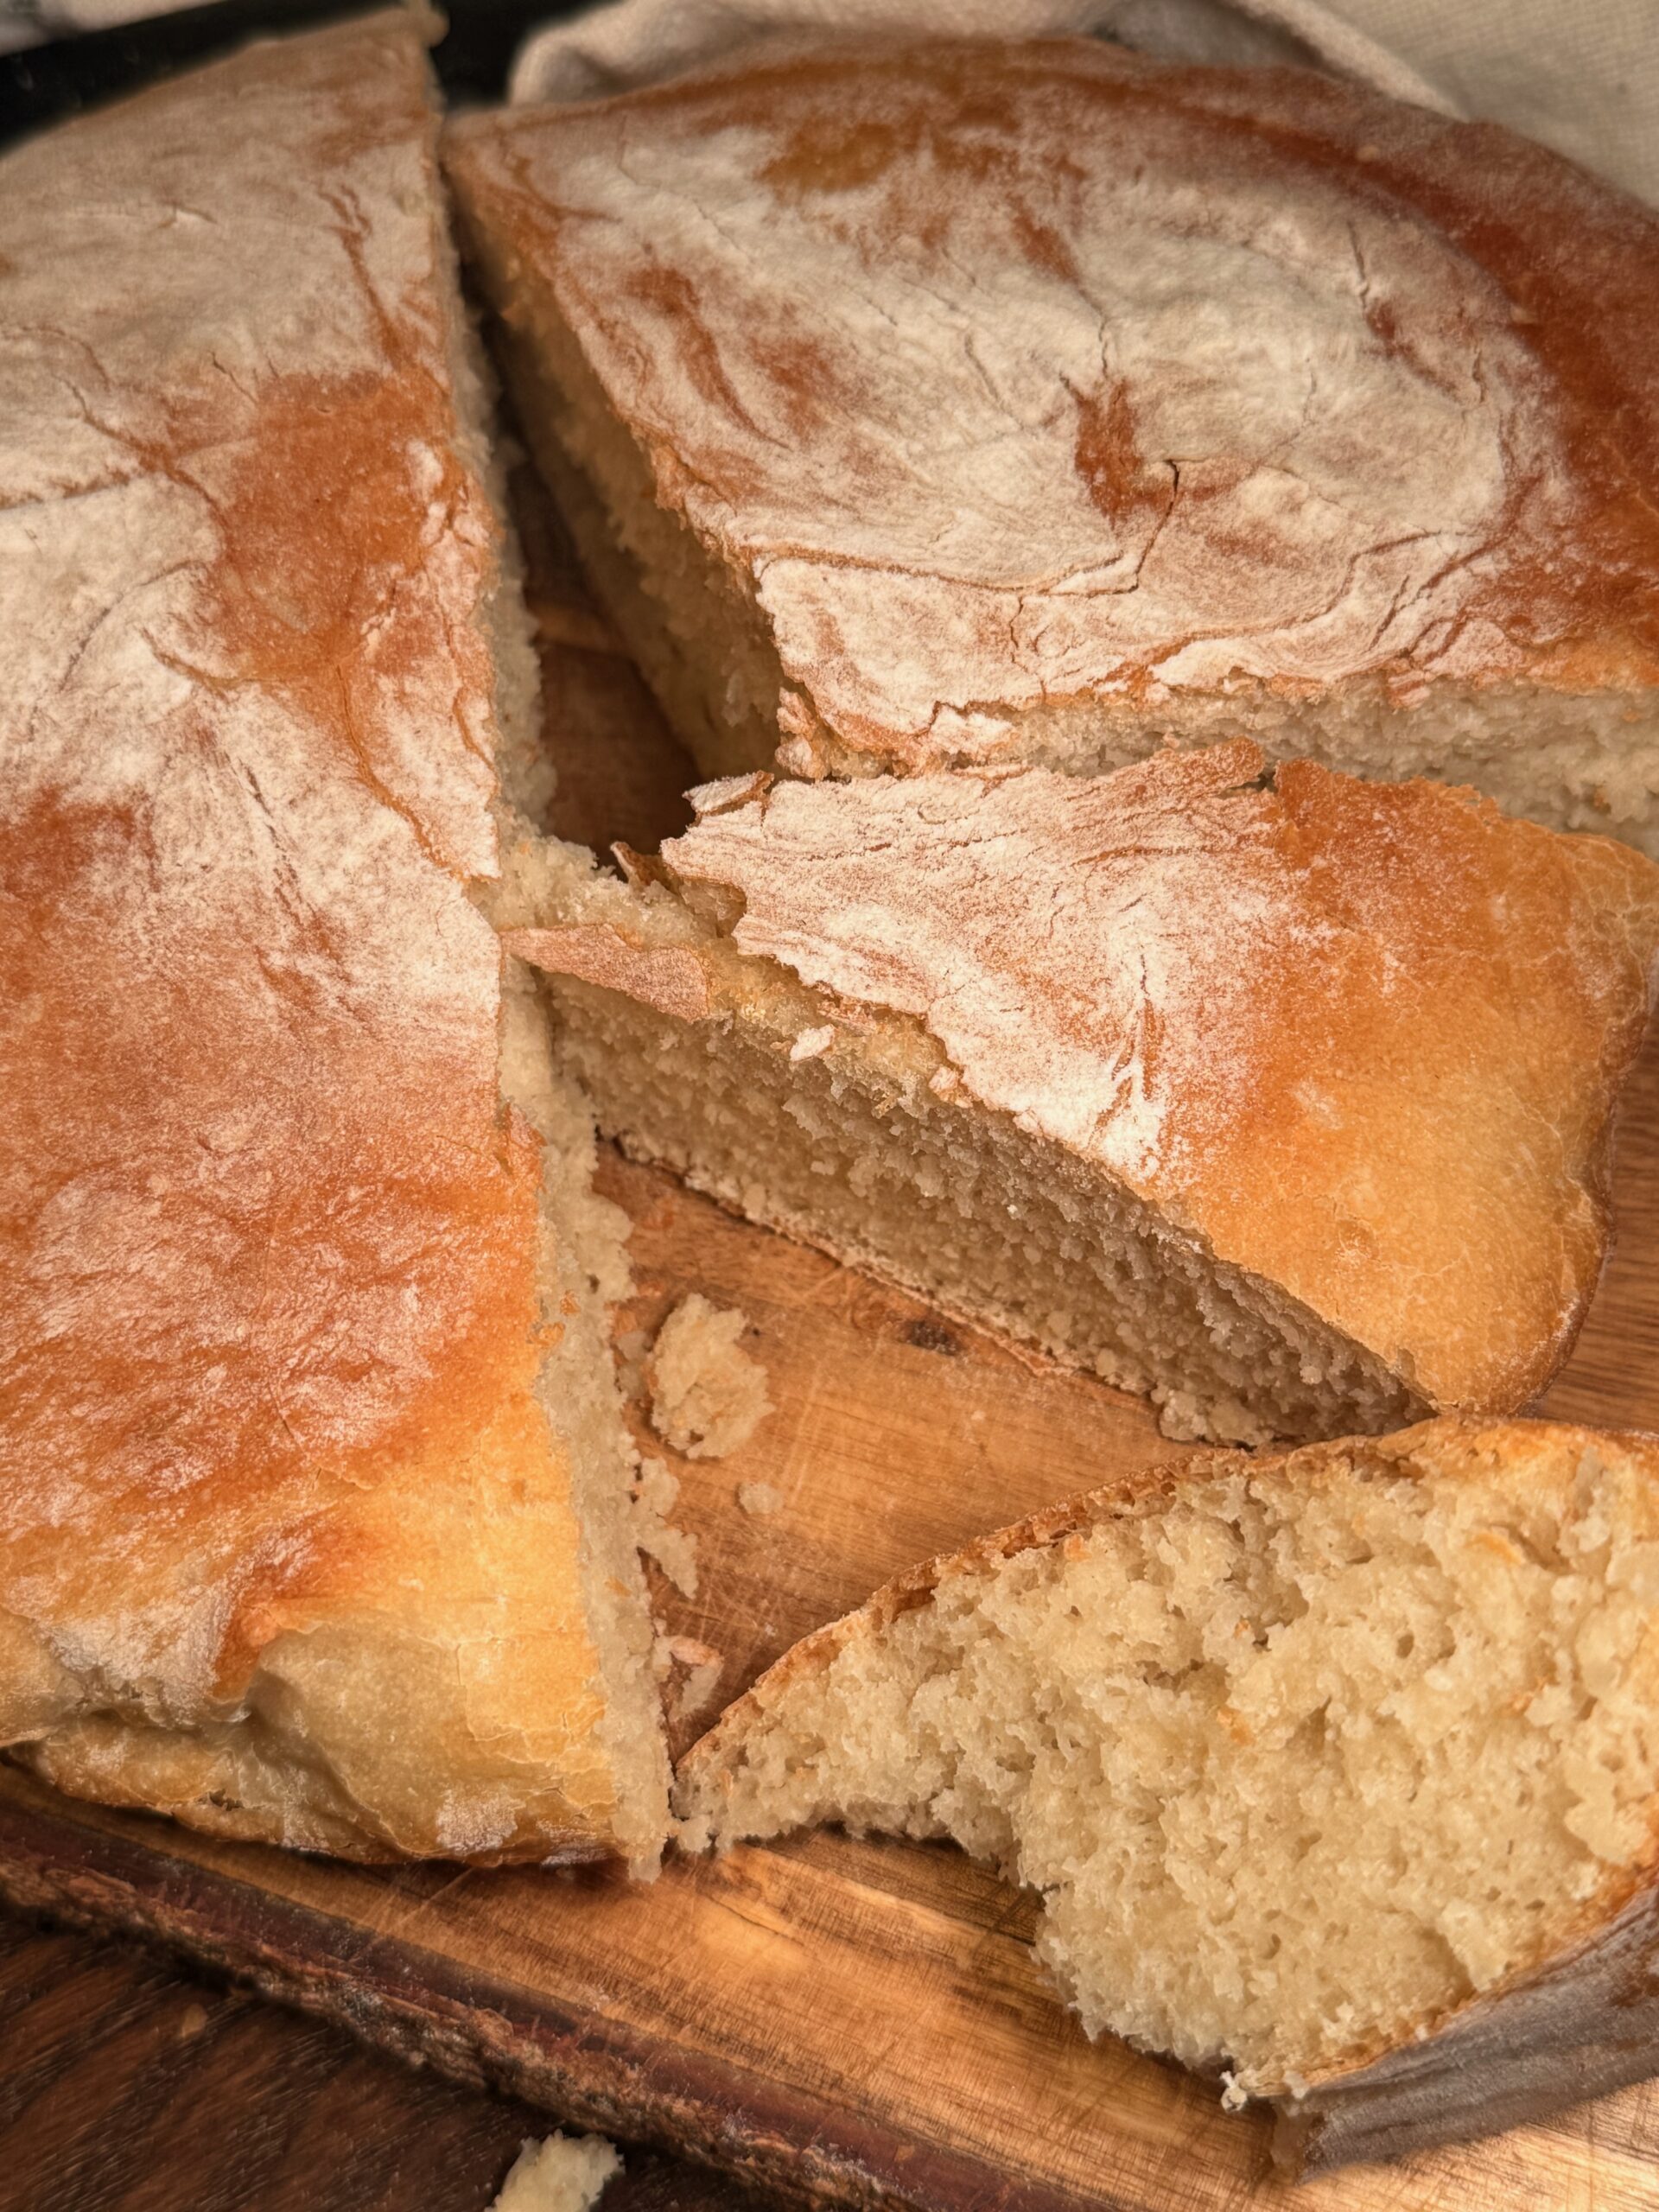
The Dutch oven is the piece of equipment that makes this bread possible without any professional baking equipment. The heavy, lidded pot traps the steam released by the dough during the first 30 minutes of baking and creates the humid environment that professional deck ovens produce naturally. That steam keeps the crust soft and pliable long enough for the loaf to expand fully before the crust sets, which is what produces the dramatic rise, the open crumb, and the crackling, blistered exterior that makes artisan bread so satisfying to make and eat.
Why You'll Love This Recipe
Five ingredients and mostly passive time. The dough mixes in one bowl and the oven does all the work after two hands-off rises and a 40-minute bake.
The Dutch oven replicates professional bakery conditions at home. The trapped steam during the covered bake produces the crackling, blistered crust and dramatic oven spring that makes this bread look and taste like a bakery loaf.
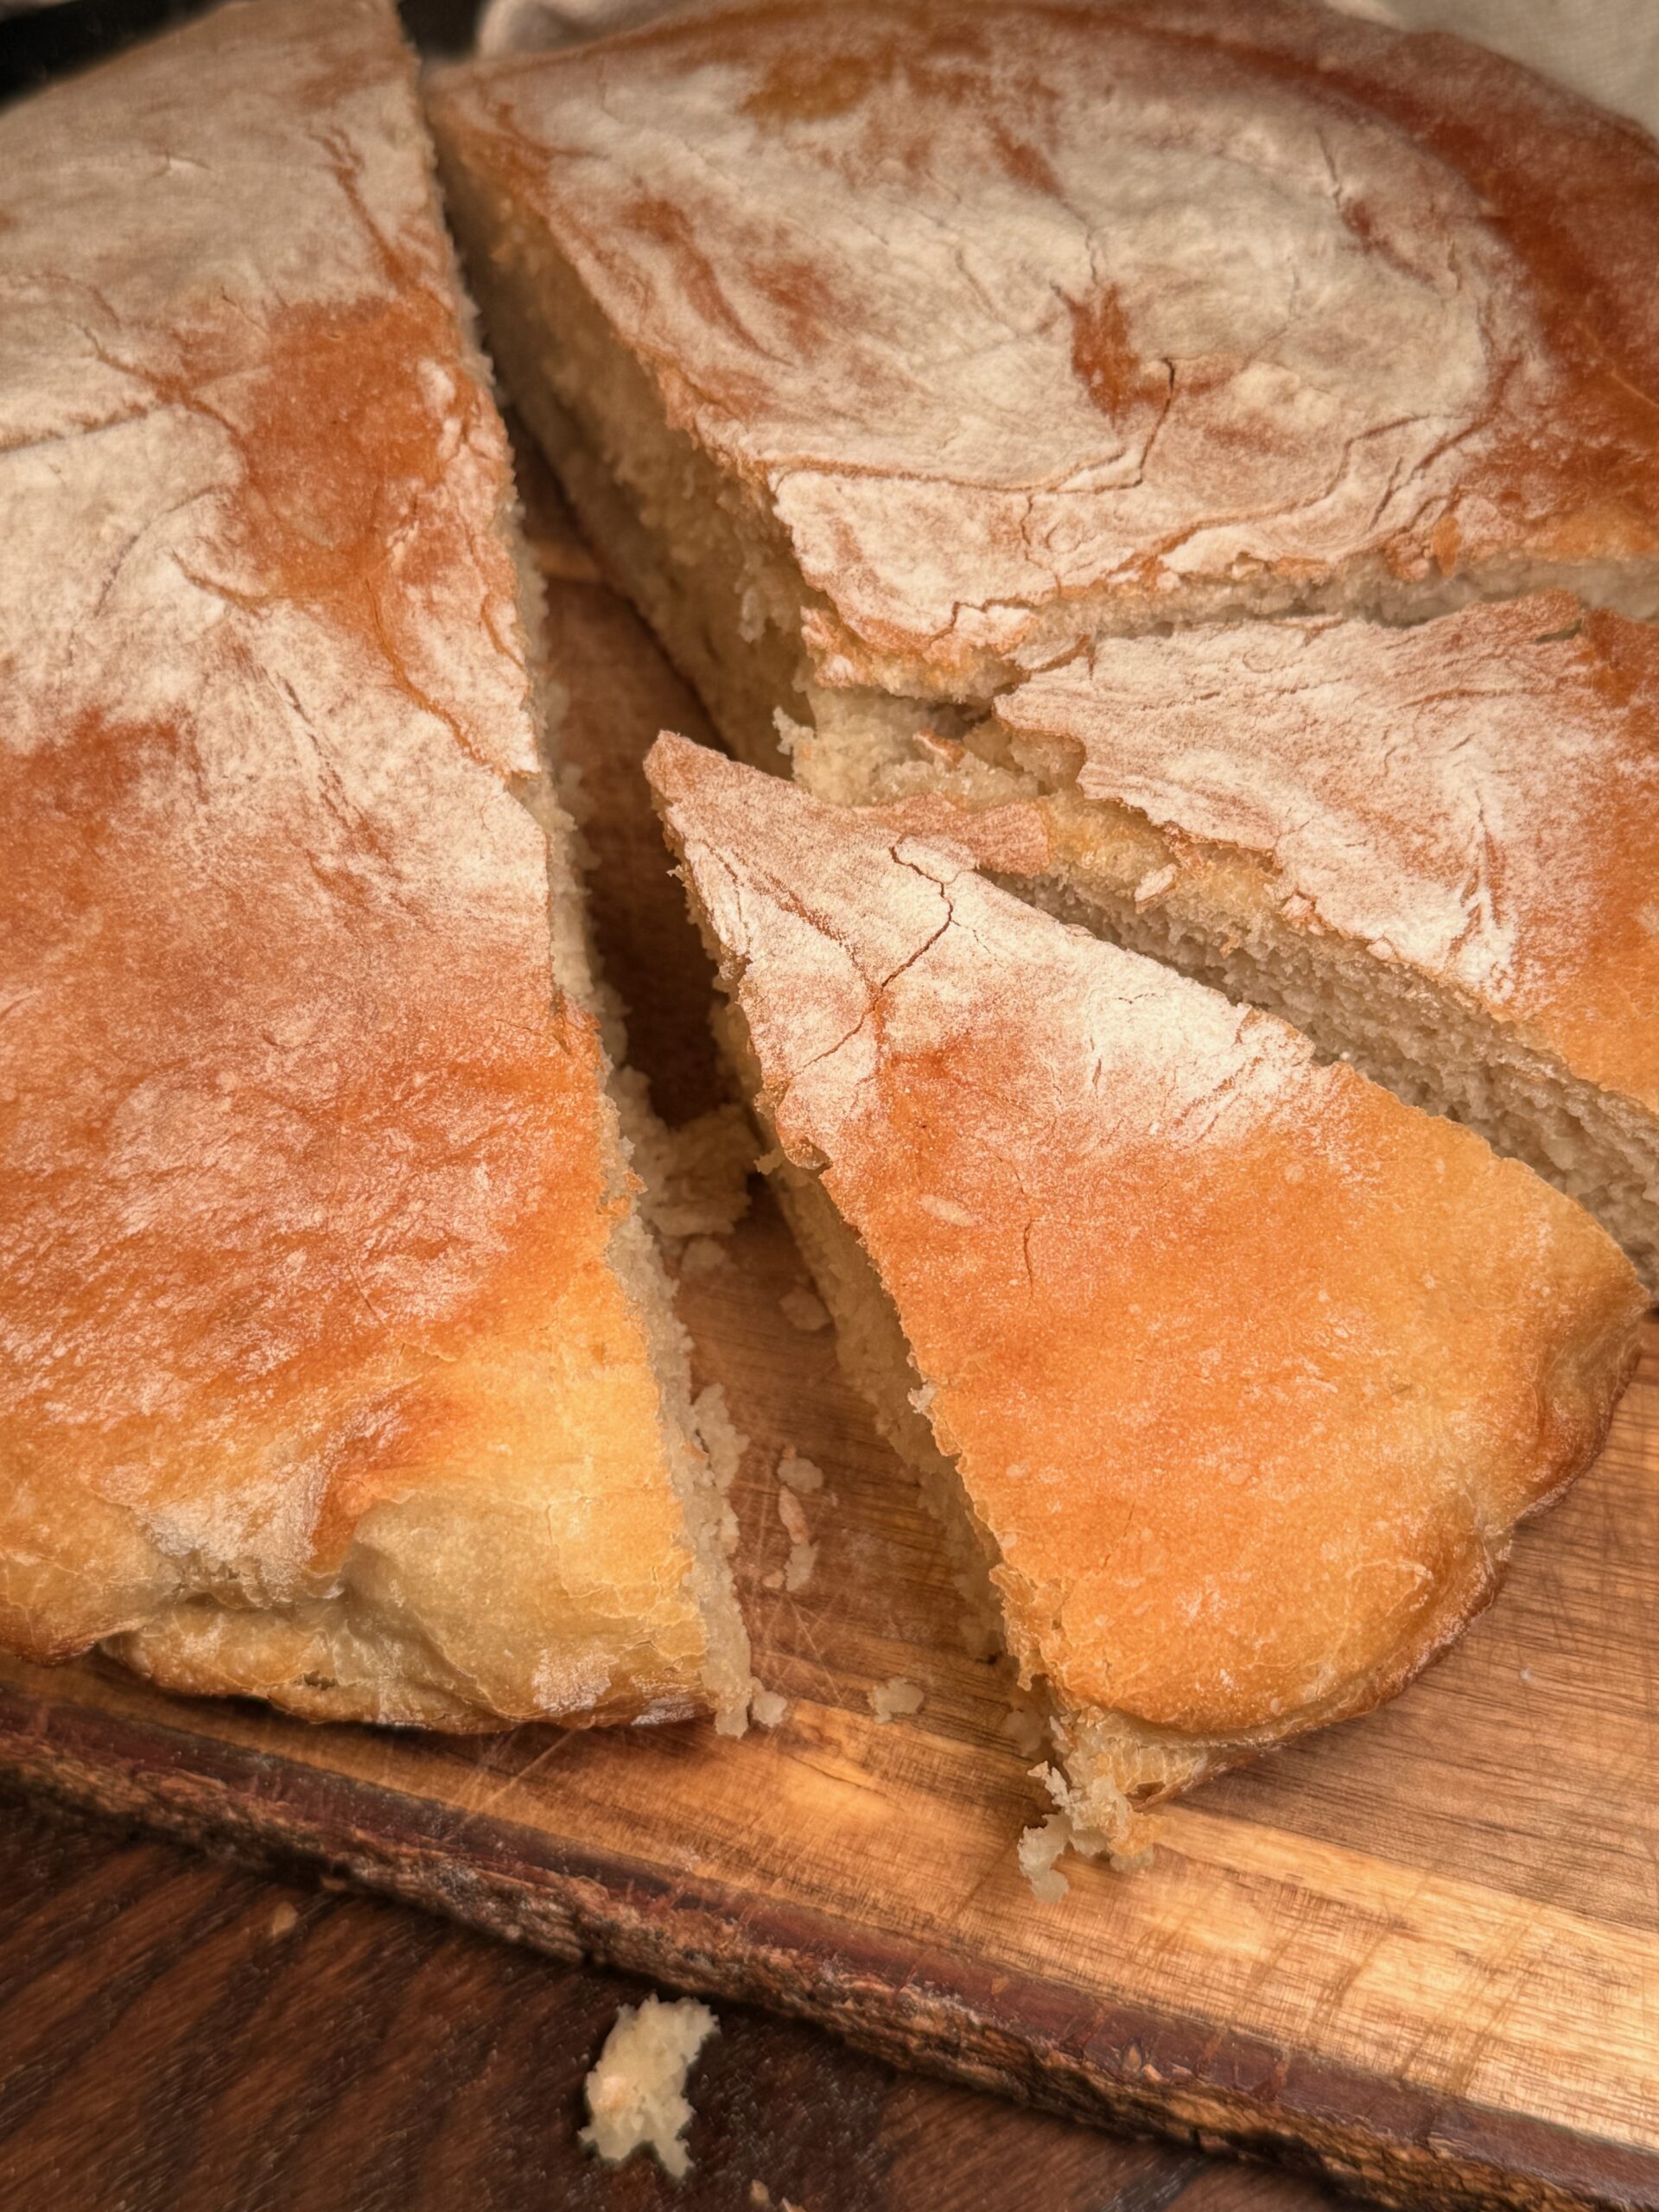
The no-punch technique preserves the air built up during the first rise and produces an open, airy crumb with large irregular holes rather than a dense, uniform interior.
It uses bread flour rather than all-purpose, which has a higher protein content and produces a chewier, more structured crumb and a crust that shatters when you press it.
Ingredients Needed to Make Dutch Oven Bread
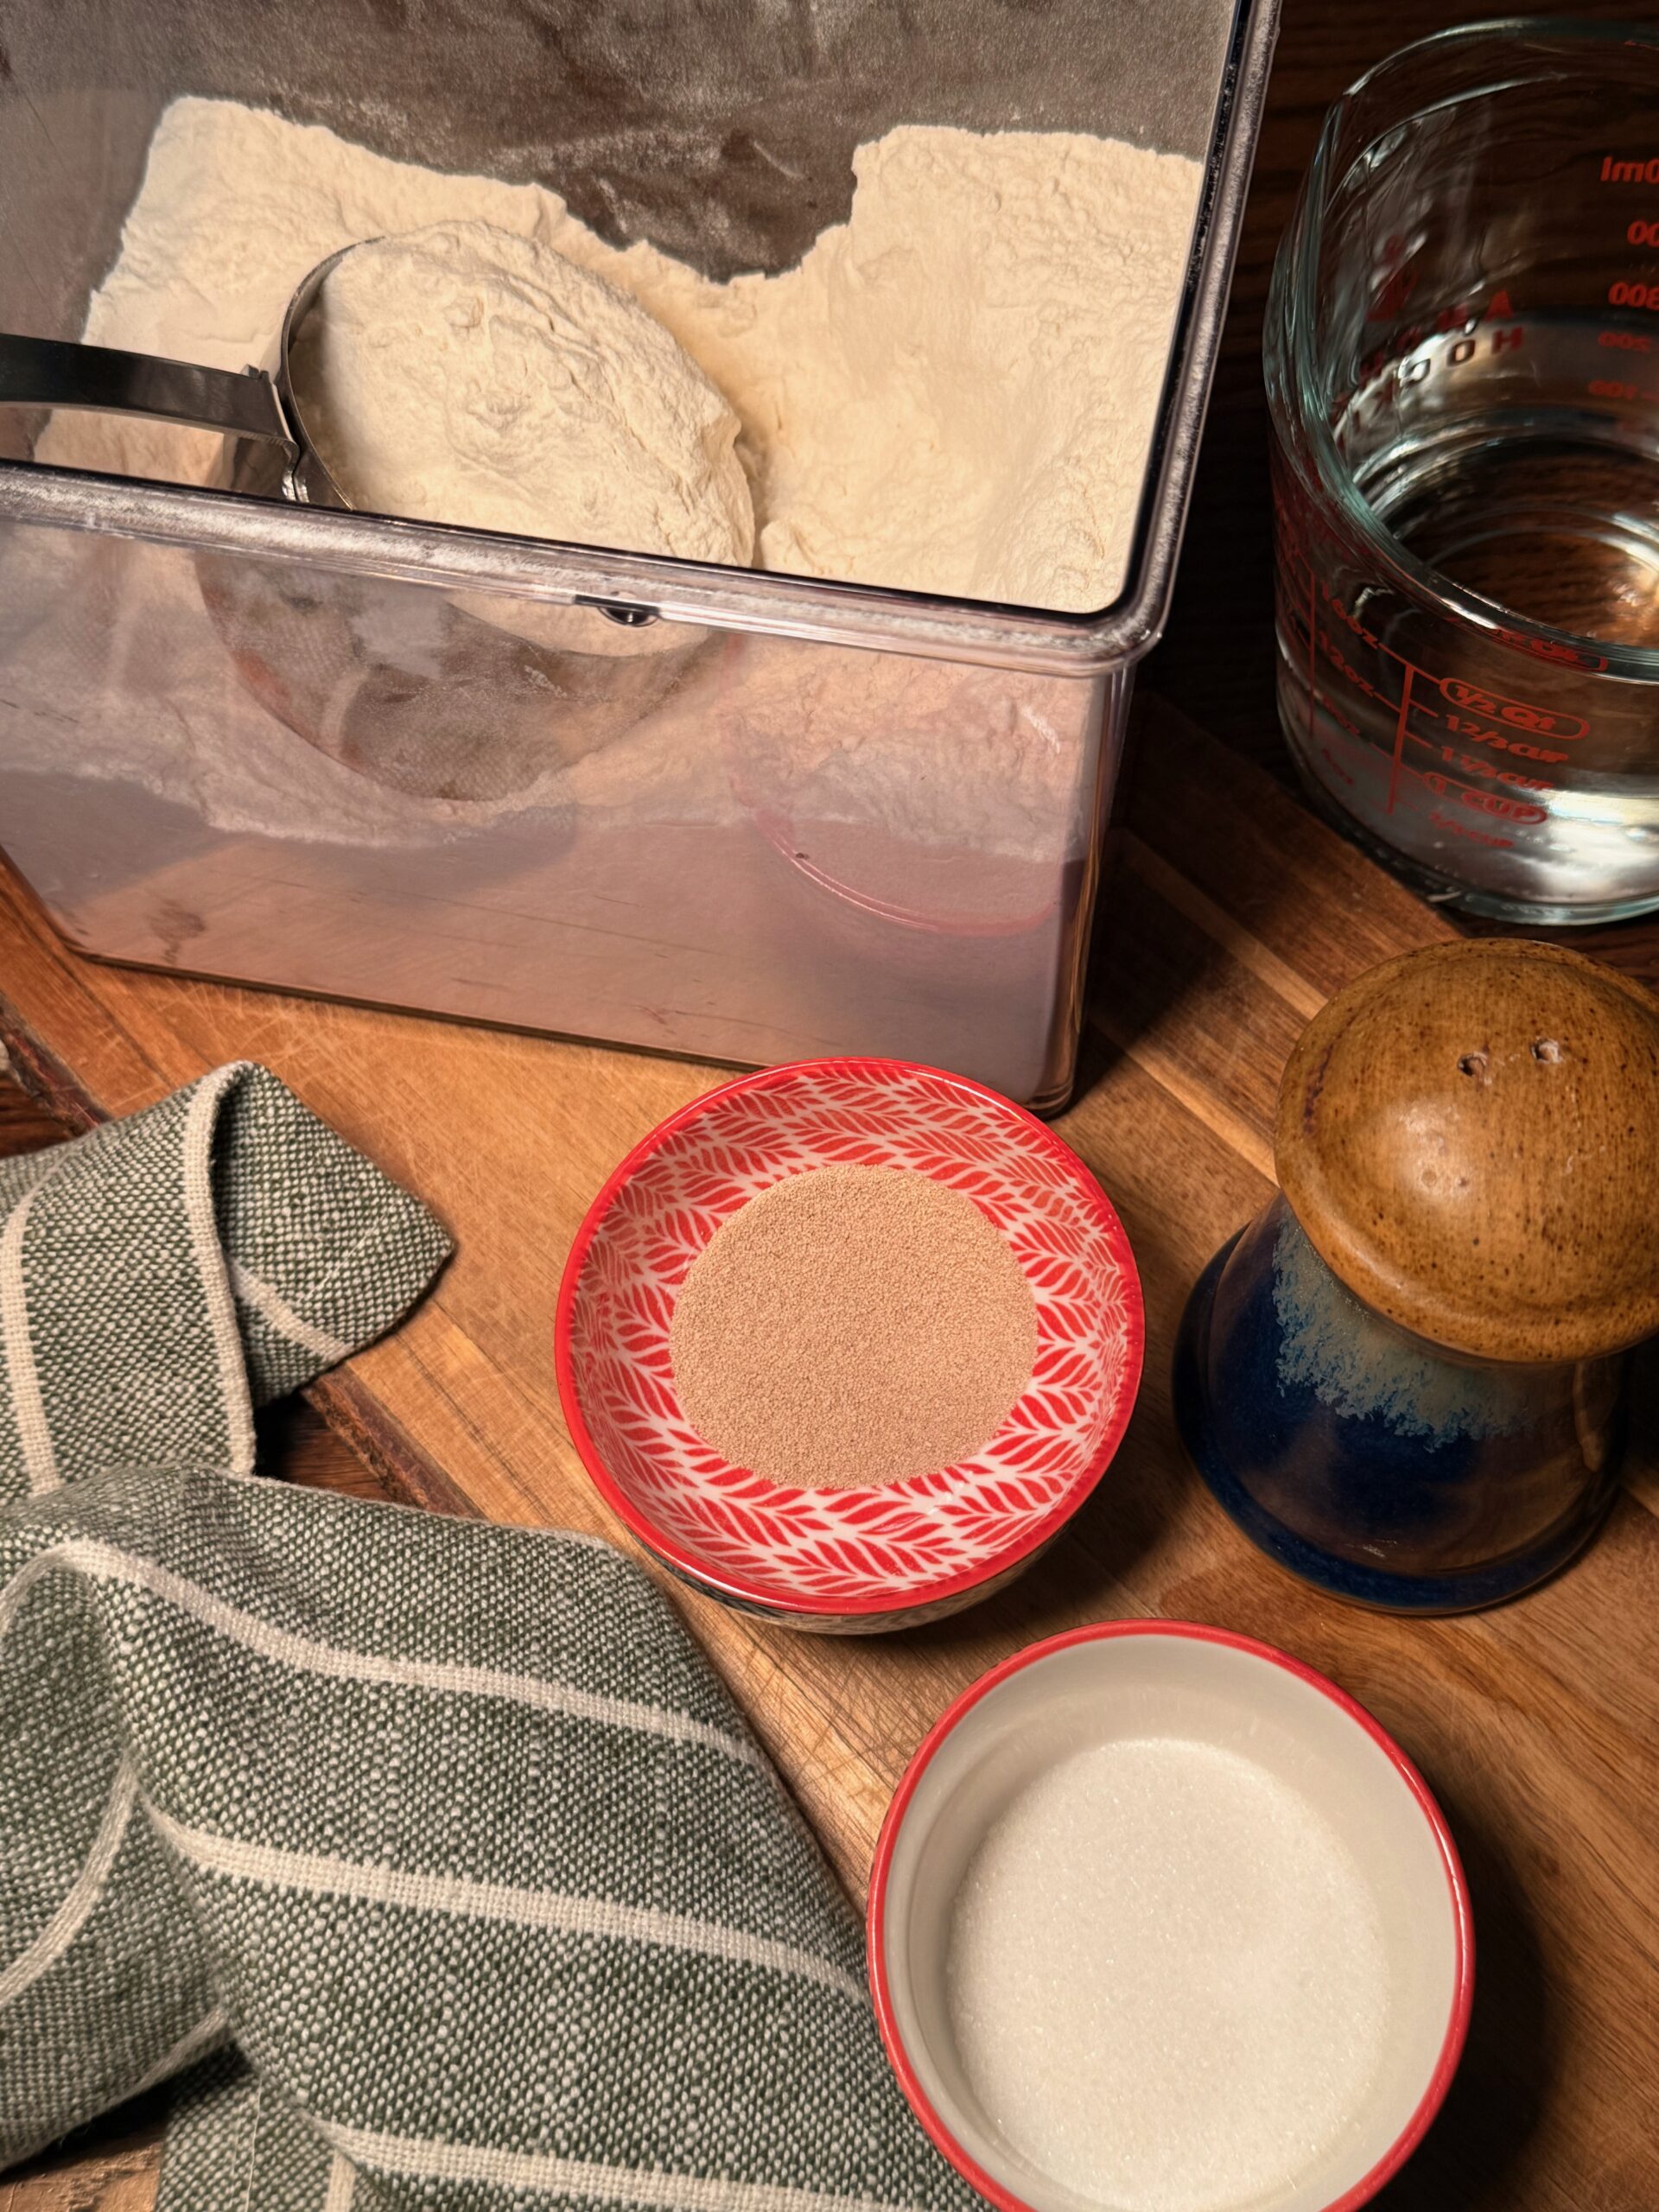
Five ingredients. Here is what you need.
The Yeast and Liquid
Active dry yeast is the leavening that makes the bread rise. Sugar provides a small amount of food for the yeast during proofing that activates it quickly. Warm water between 100 and 110°F activates the yeast. Too cold and the yeast activates too slowly. Too hot and it kills the yeast entirely.
The Flour and Salt
Bread flour has a higher protein content than all-purpose flour, typically 12 to 14 percent compared to 10 to 12 percent, which produces more gluten development during mixing and rising and results in a chewier, more structured loaf with a better crust. Salt seasons the bread and also strengthens the gluten structure during the rise.
How to Make Dutch Oven Bread
Step 1: Proof the Yeast
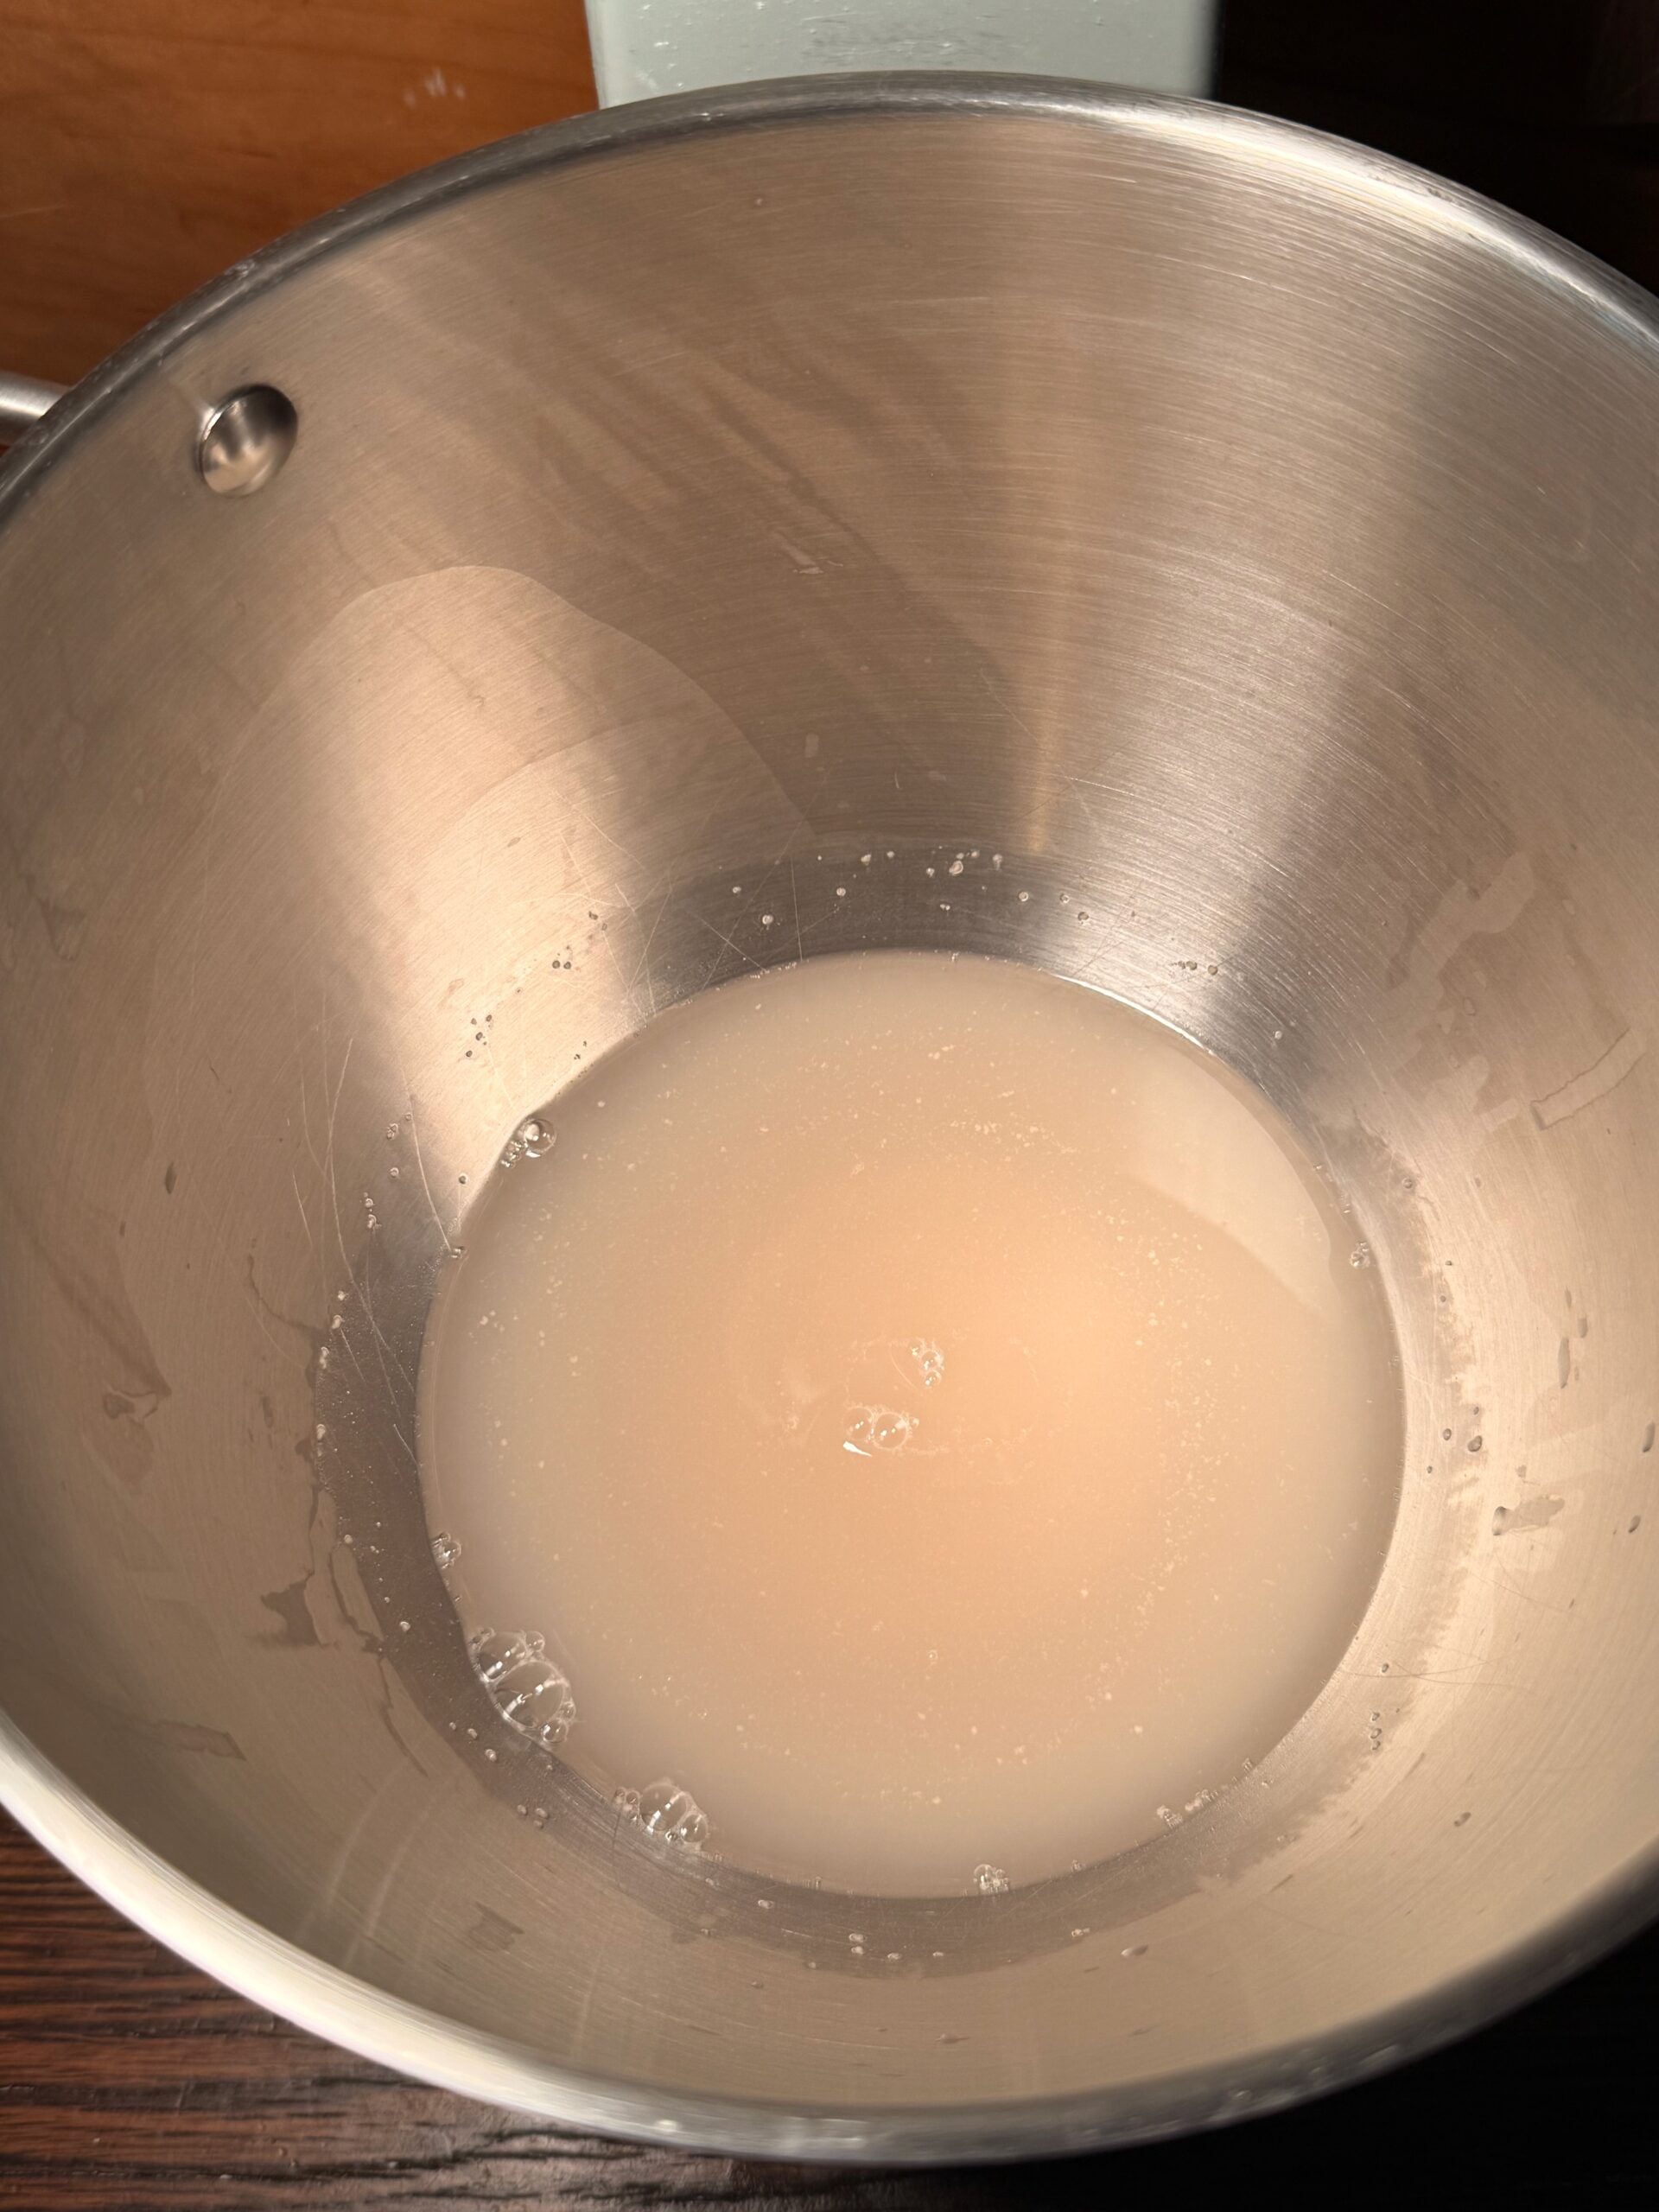
In a large bowl, combine the warm water, sugar, and yeast. Stir once gently and let sit undisturbed for 5 to 10 minutes. The yeast is properly activated when it looks foamy and slightly bubbly on the surface. If nothing happens after 10 minutes the yeast is likely dead and should be replaced before proceeding.
Step 2: Mix the Dough
Add the salt and all 3 cups of bread flour to the proofed yeast mixture. Stir with a wooden spoon or rubber spatula until a rough, shaggy dough forms with no visible dry flour remaining. The dough will be sticky and slightly rough looking. This is correct.
Step 3: First Rise
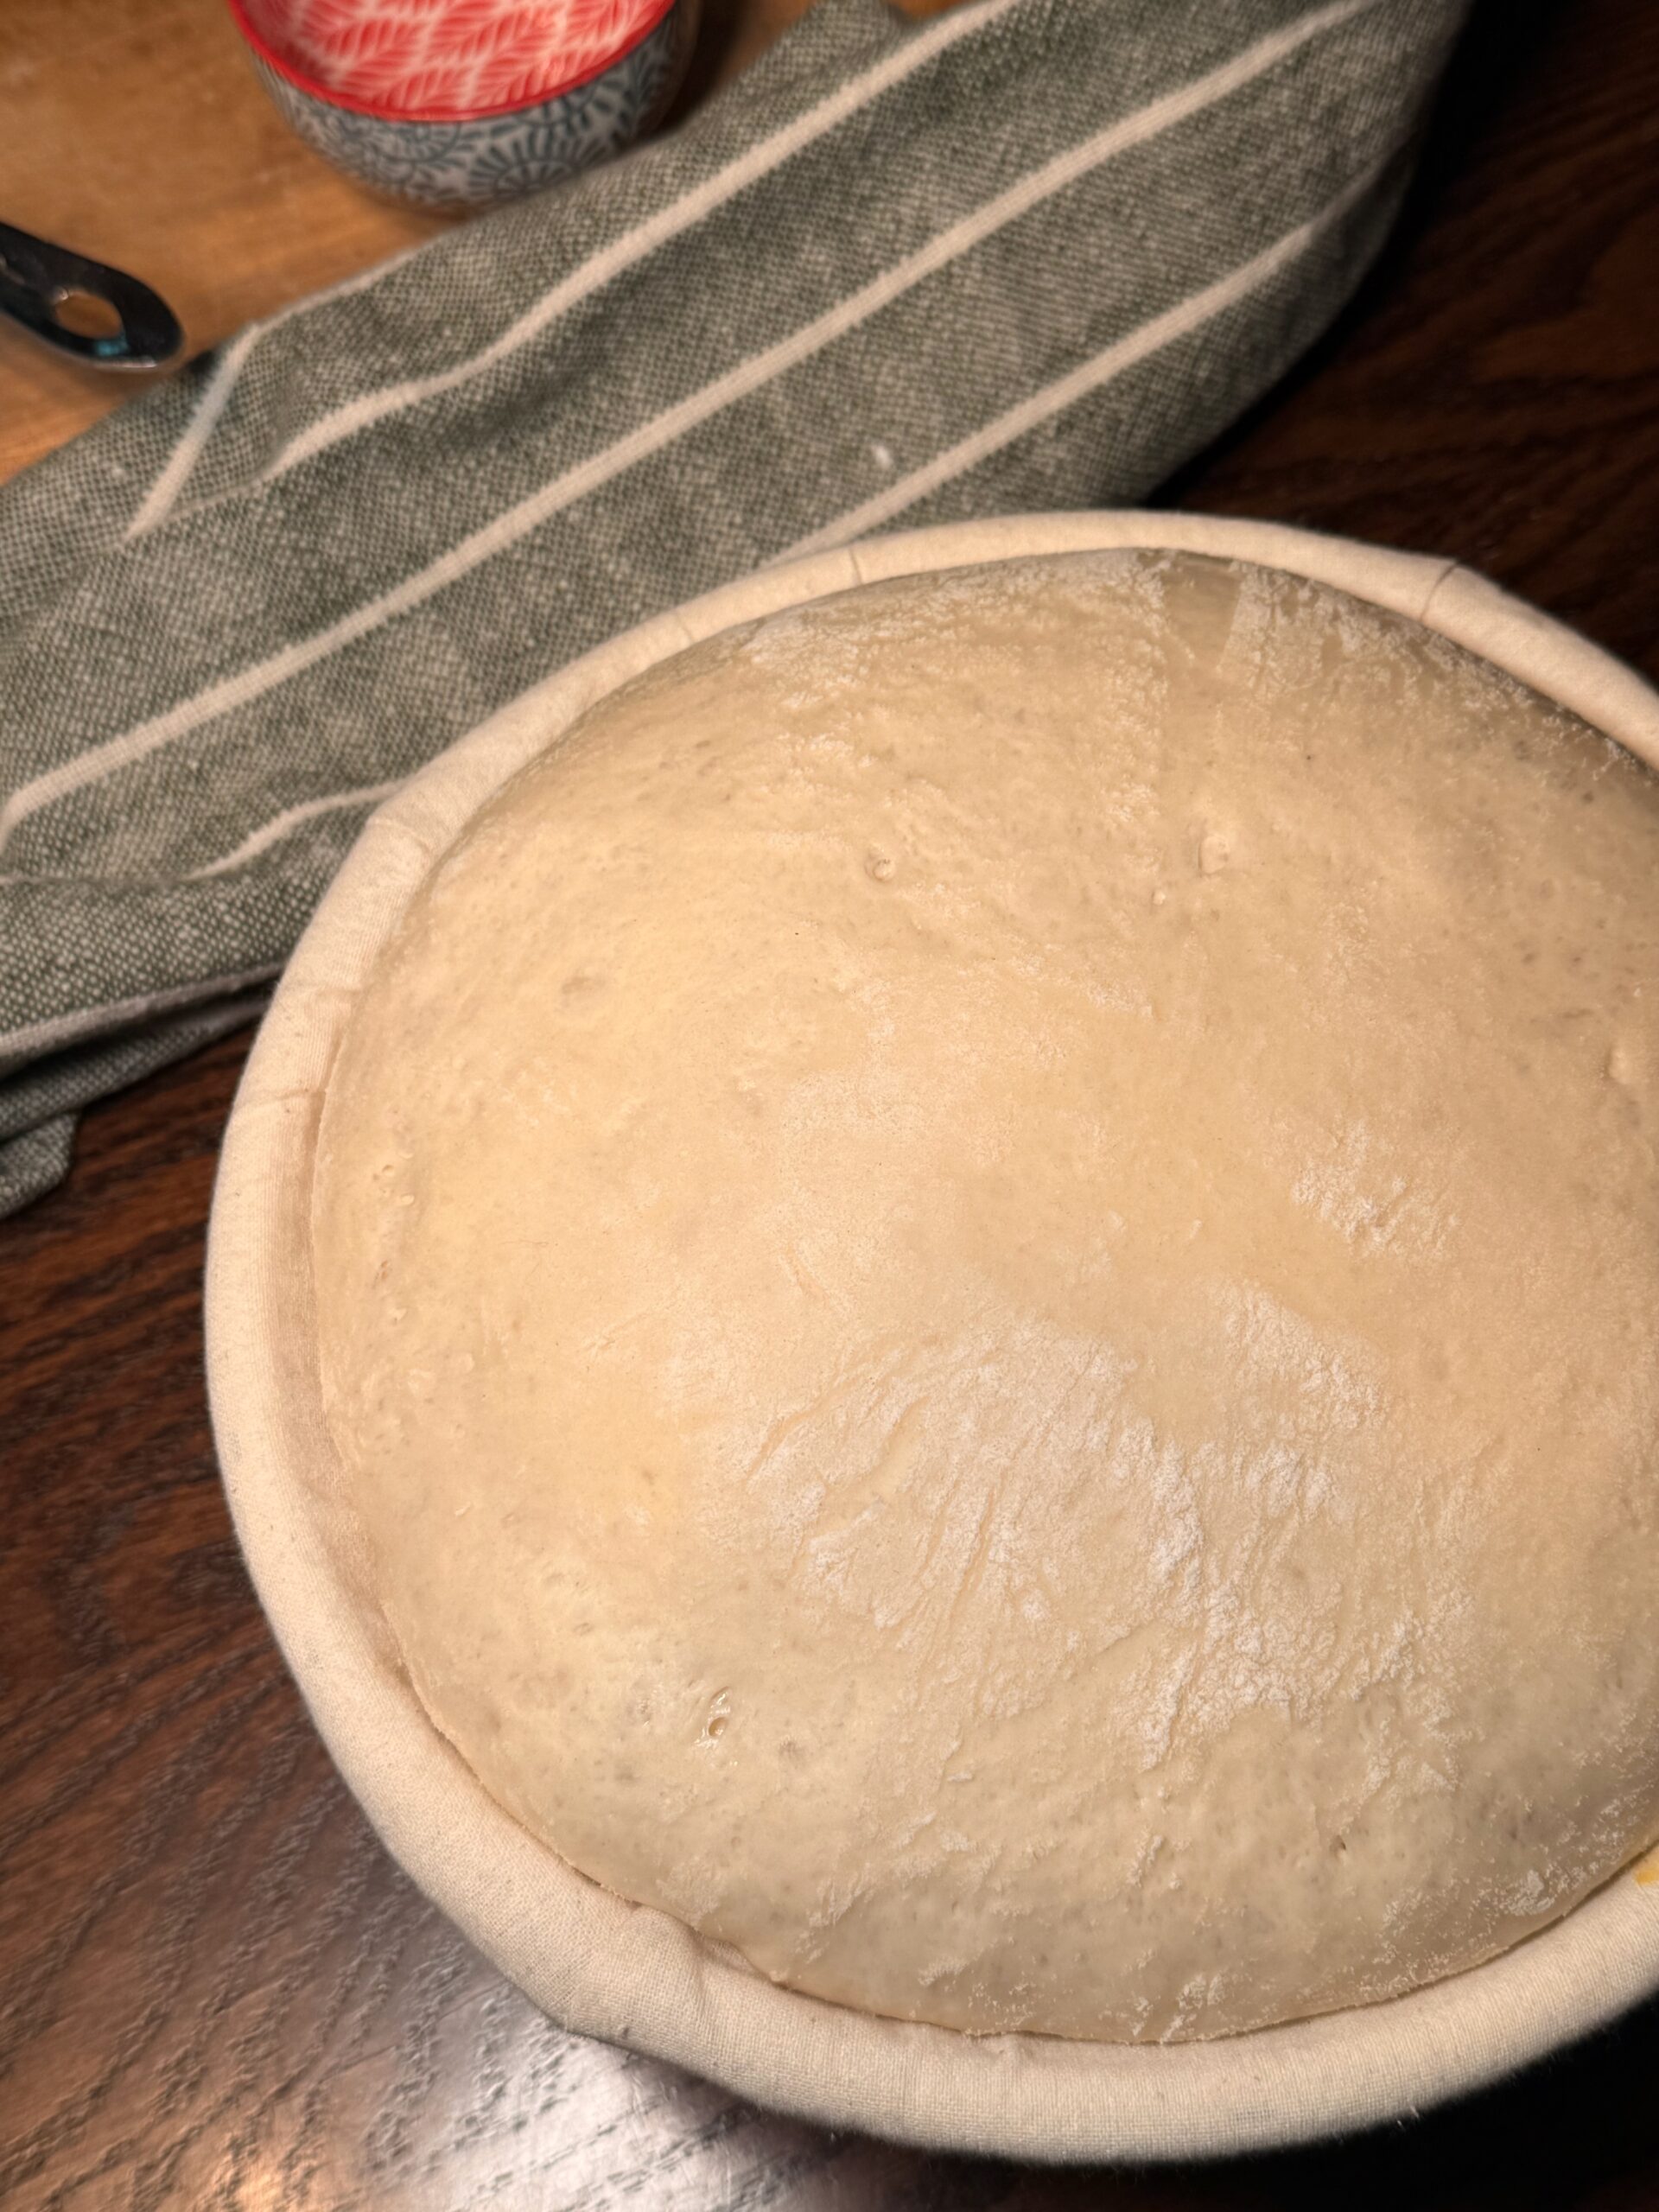
Cover the bowl tightly with plastic wrap or a clean kitchen towel. Leave at room temperature for 1 hour until the dough has roughly doubled in size and looks puffy and slightly domed on the surface.
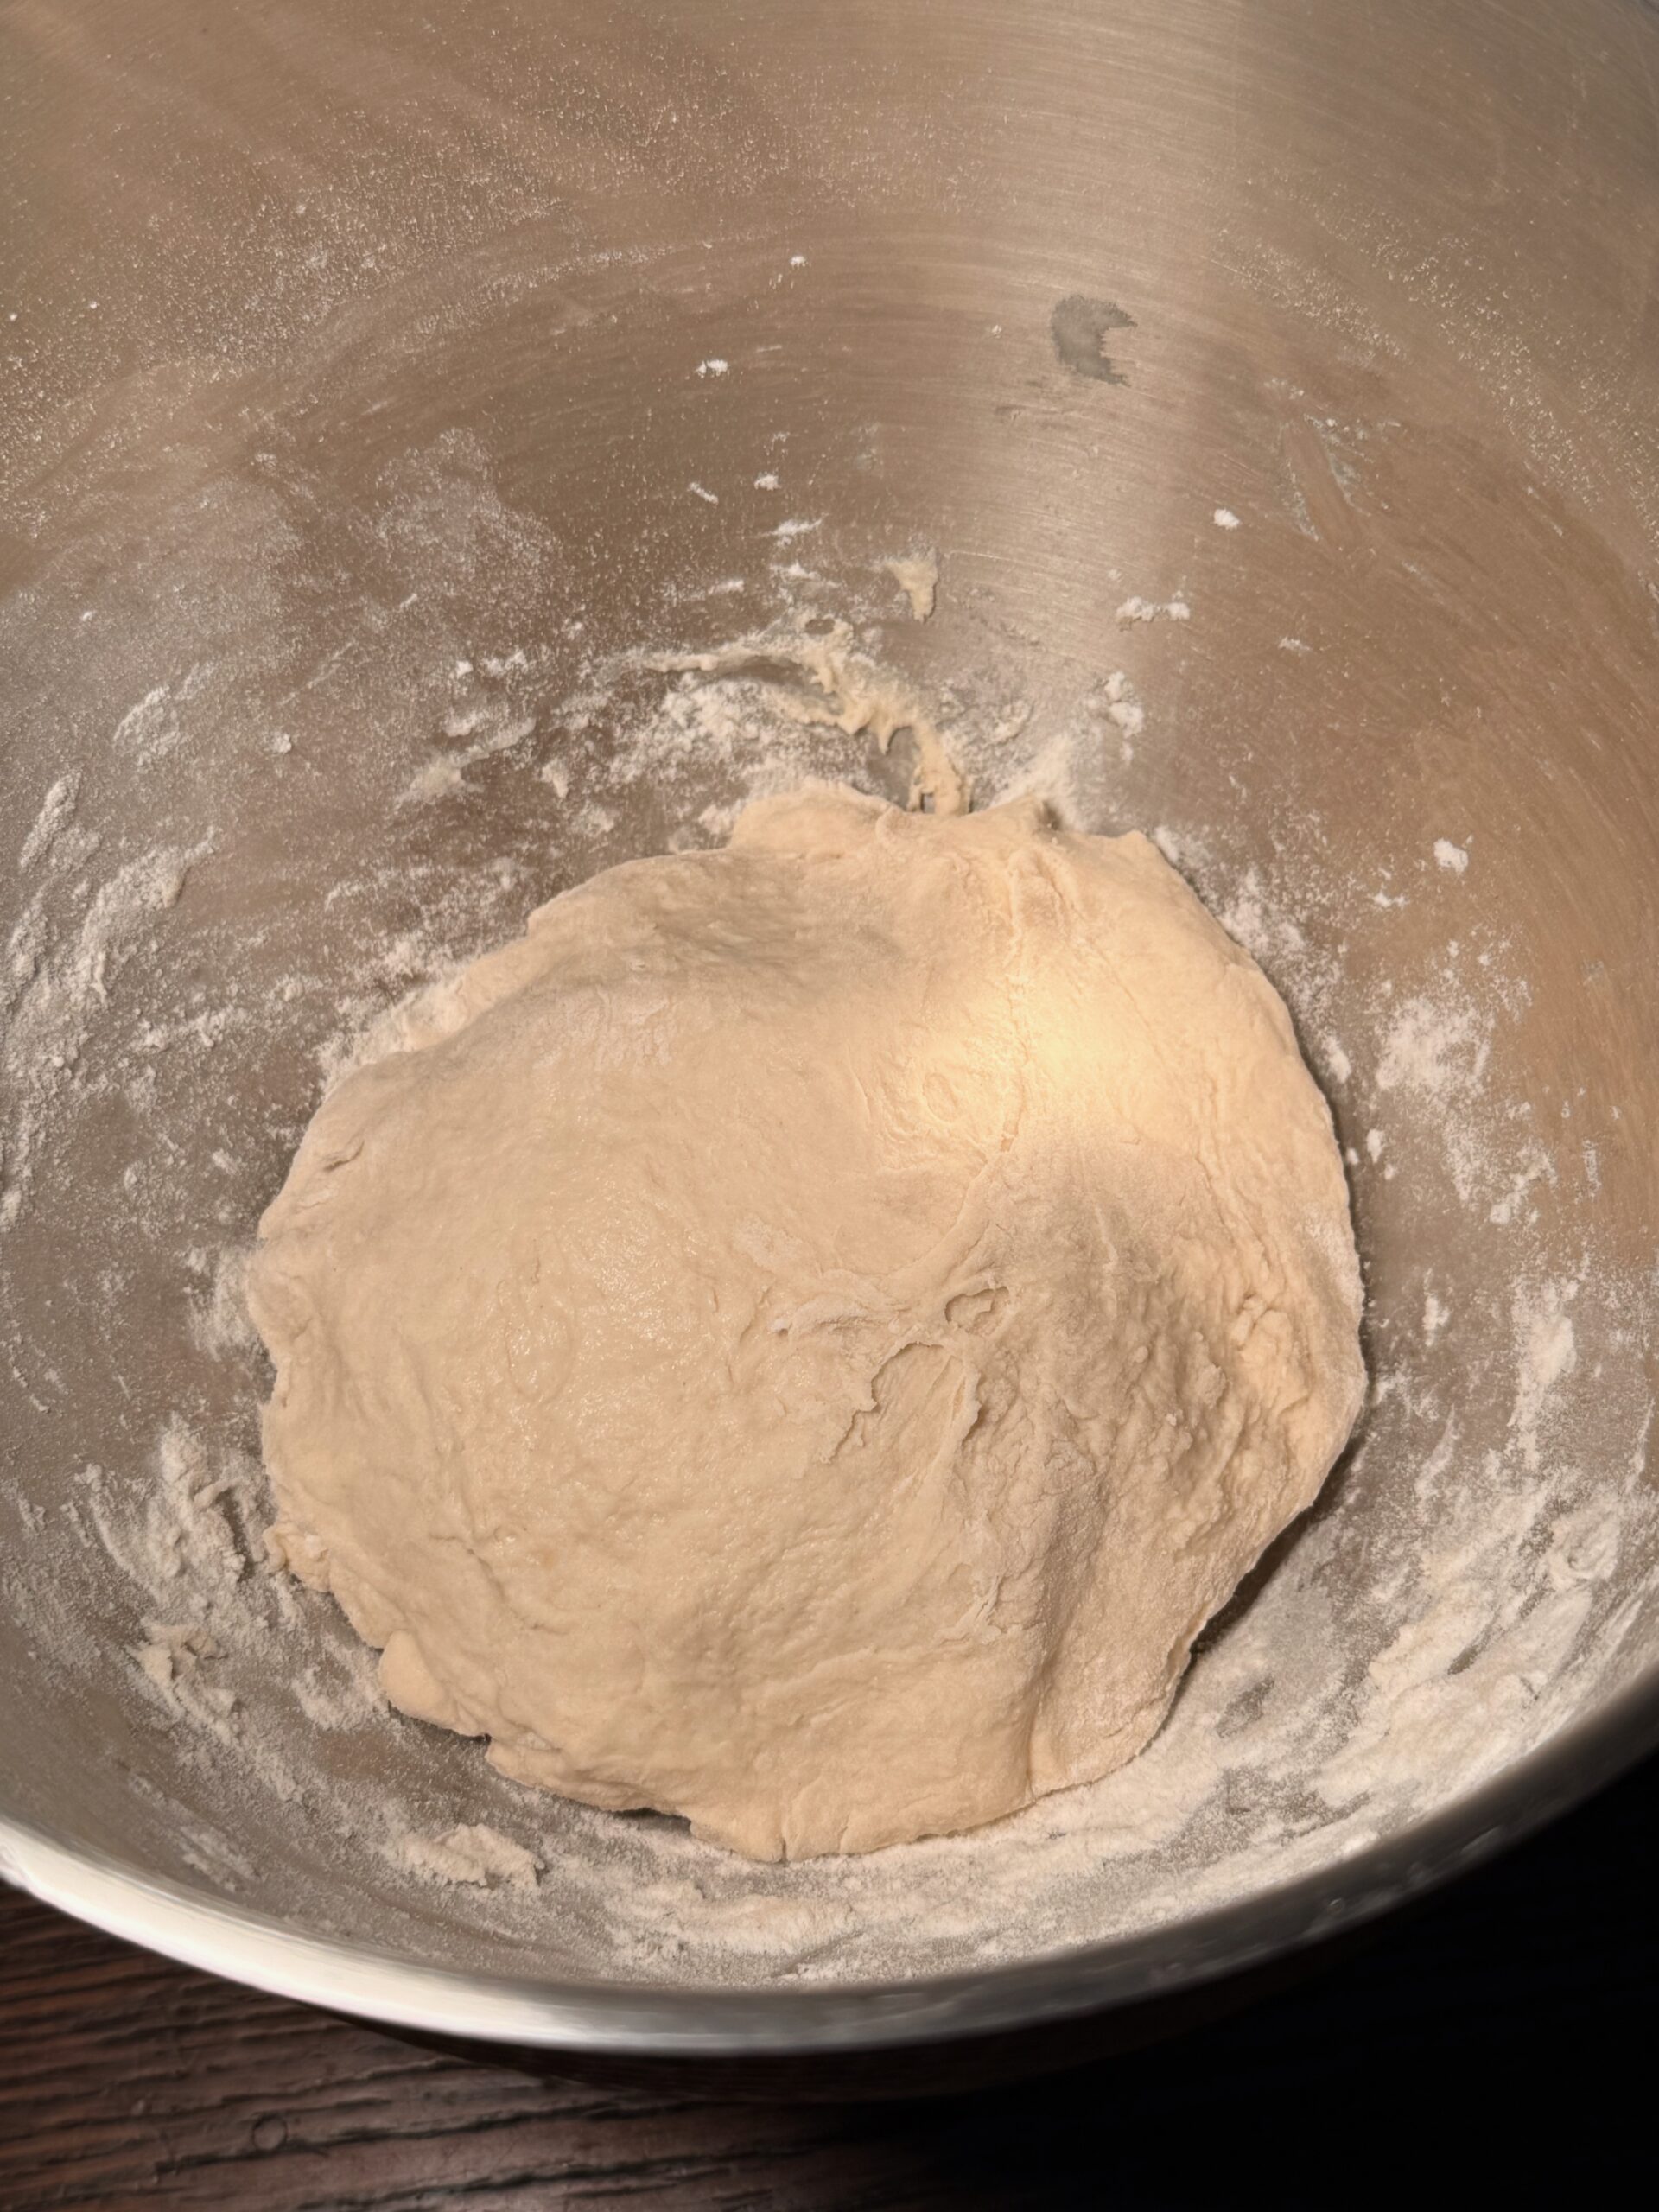

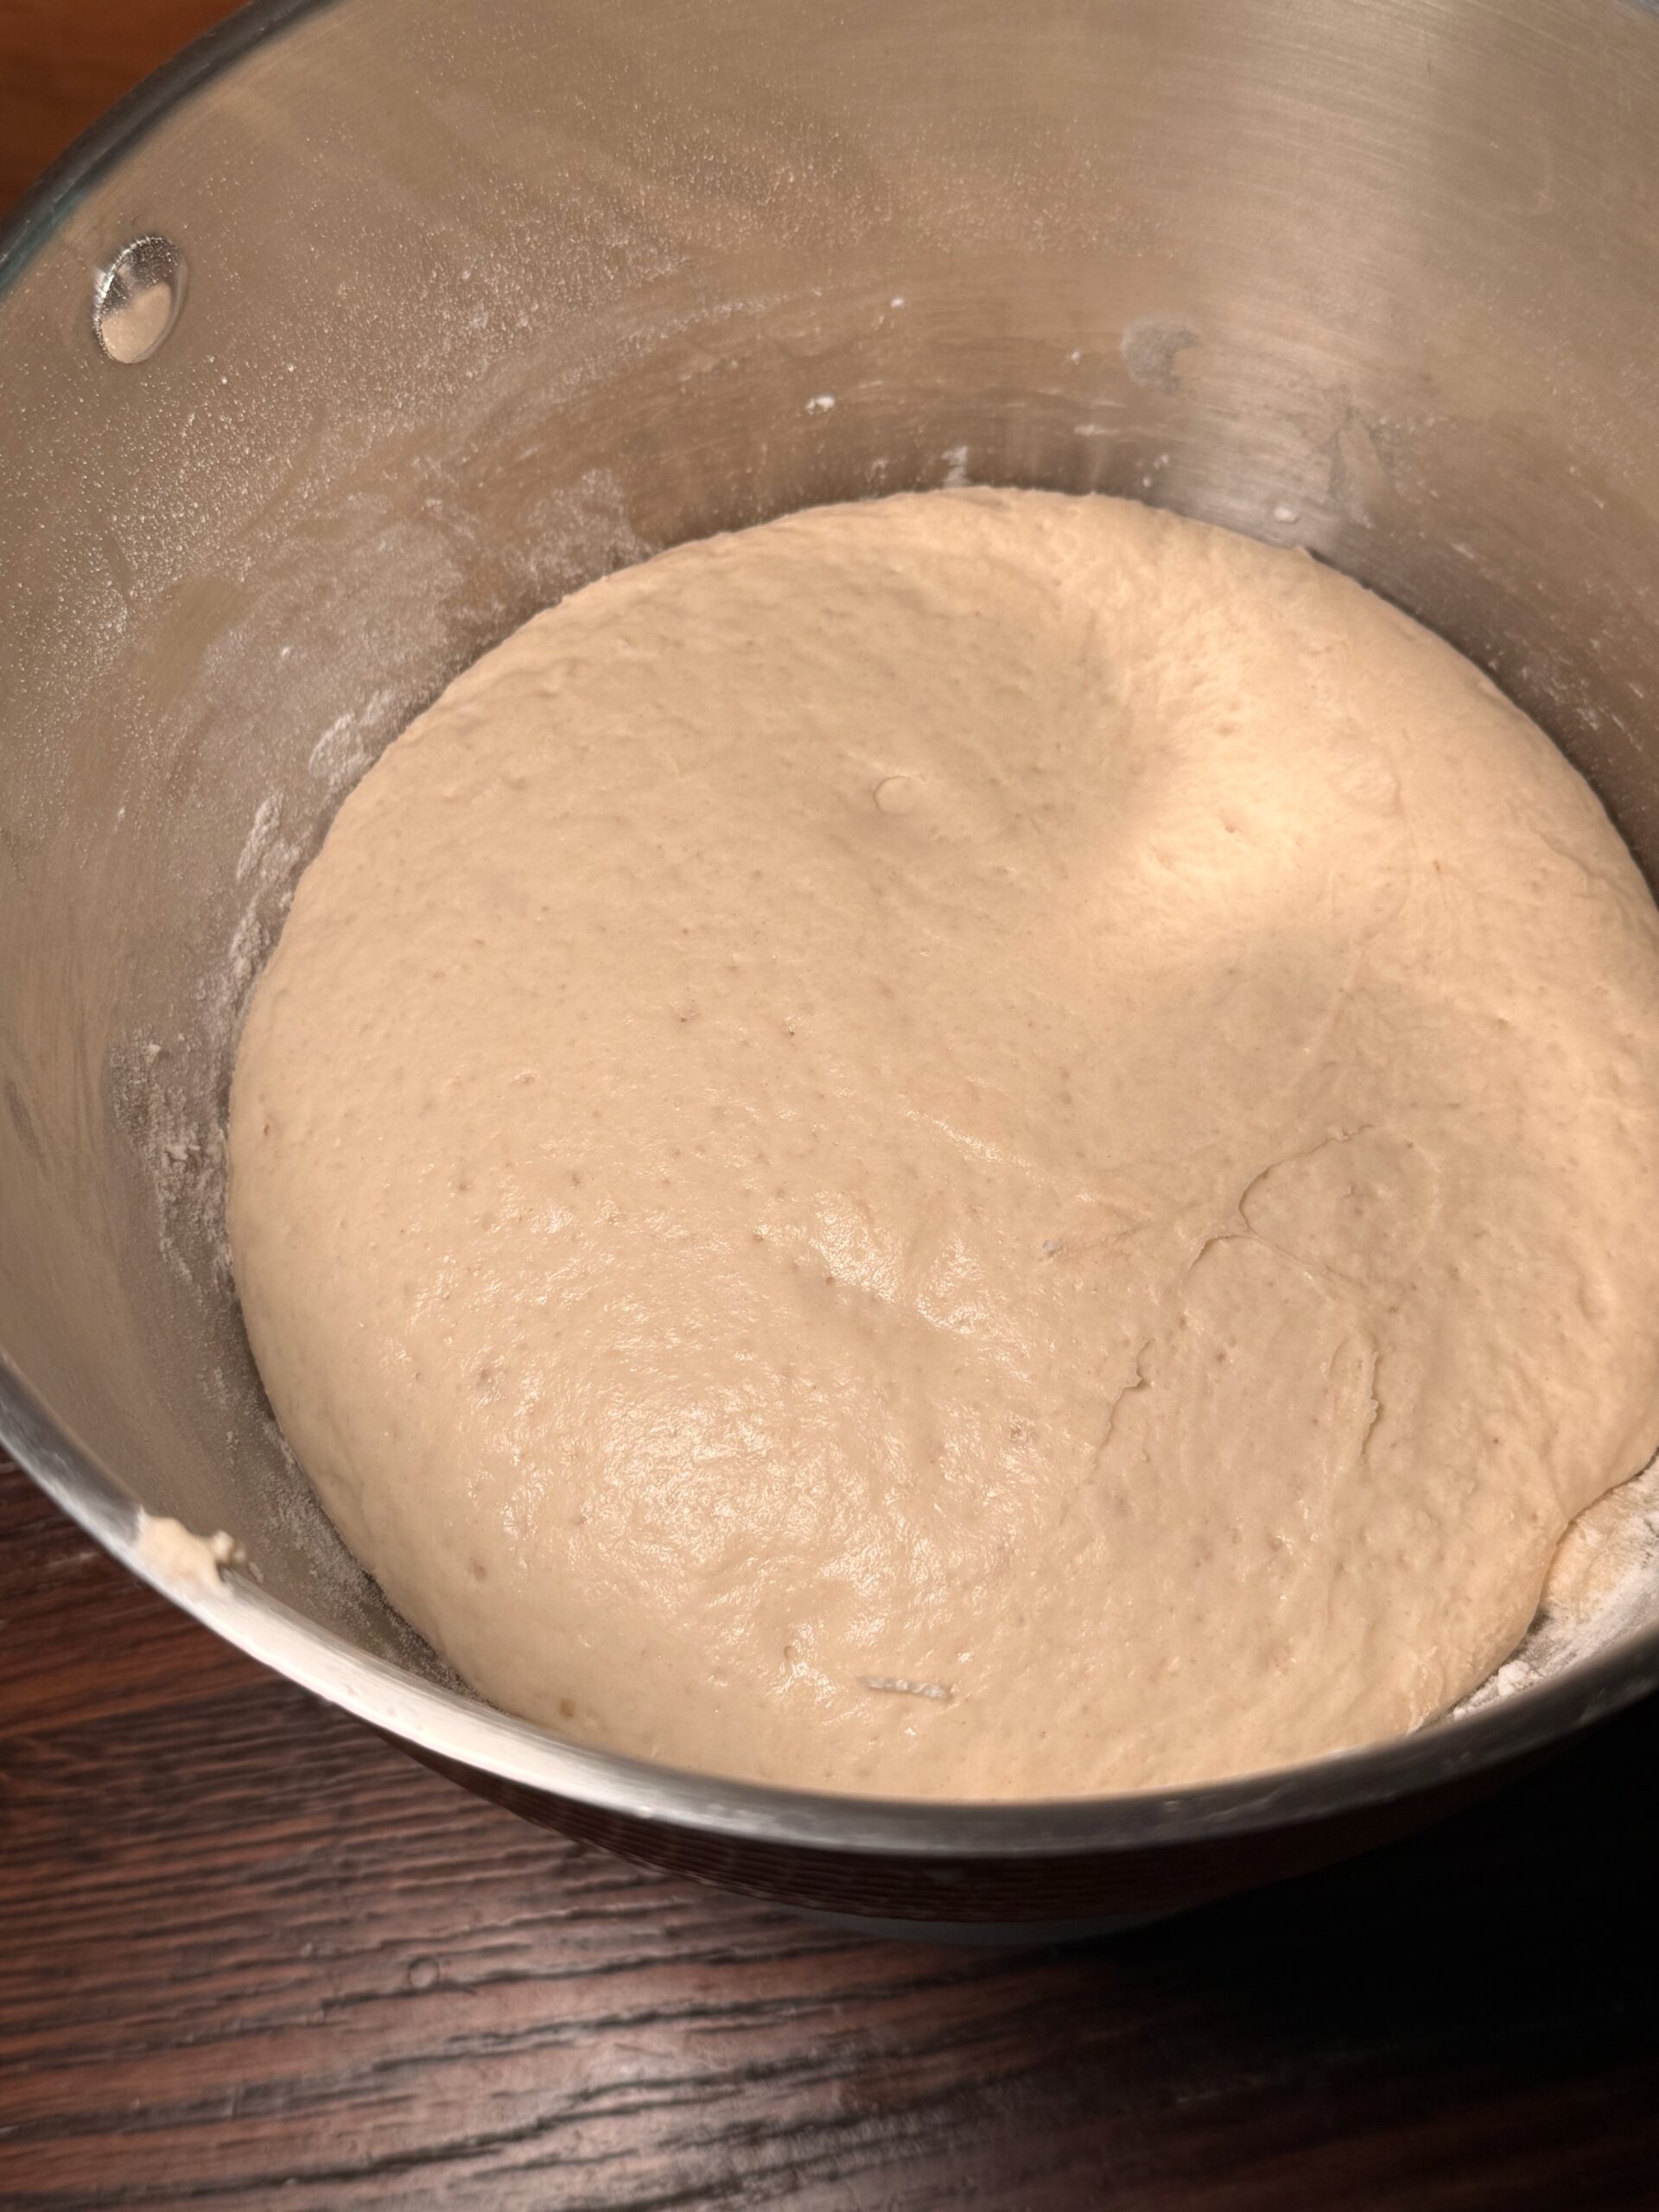
Step 4: Shape the Dough
Lightly flour a clean work surface. Gently pour the risen dough out onto the floured surface. Do not punch it down or press on it. Sprinkle a small amount of flour over the top of the dough. Using lightly floured hands, gently lift the edges of the dough and fold them toward the center, rotating the dough and repeating around the entire perimeter until you have formed a round ball shape. Flip the dough so the smooth side faces up. The goal is a taut, round shape with minimal deflation of the air inside.
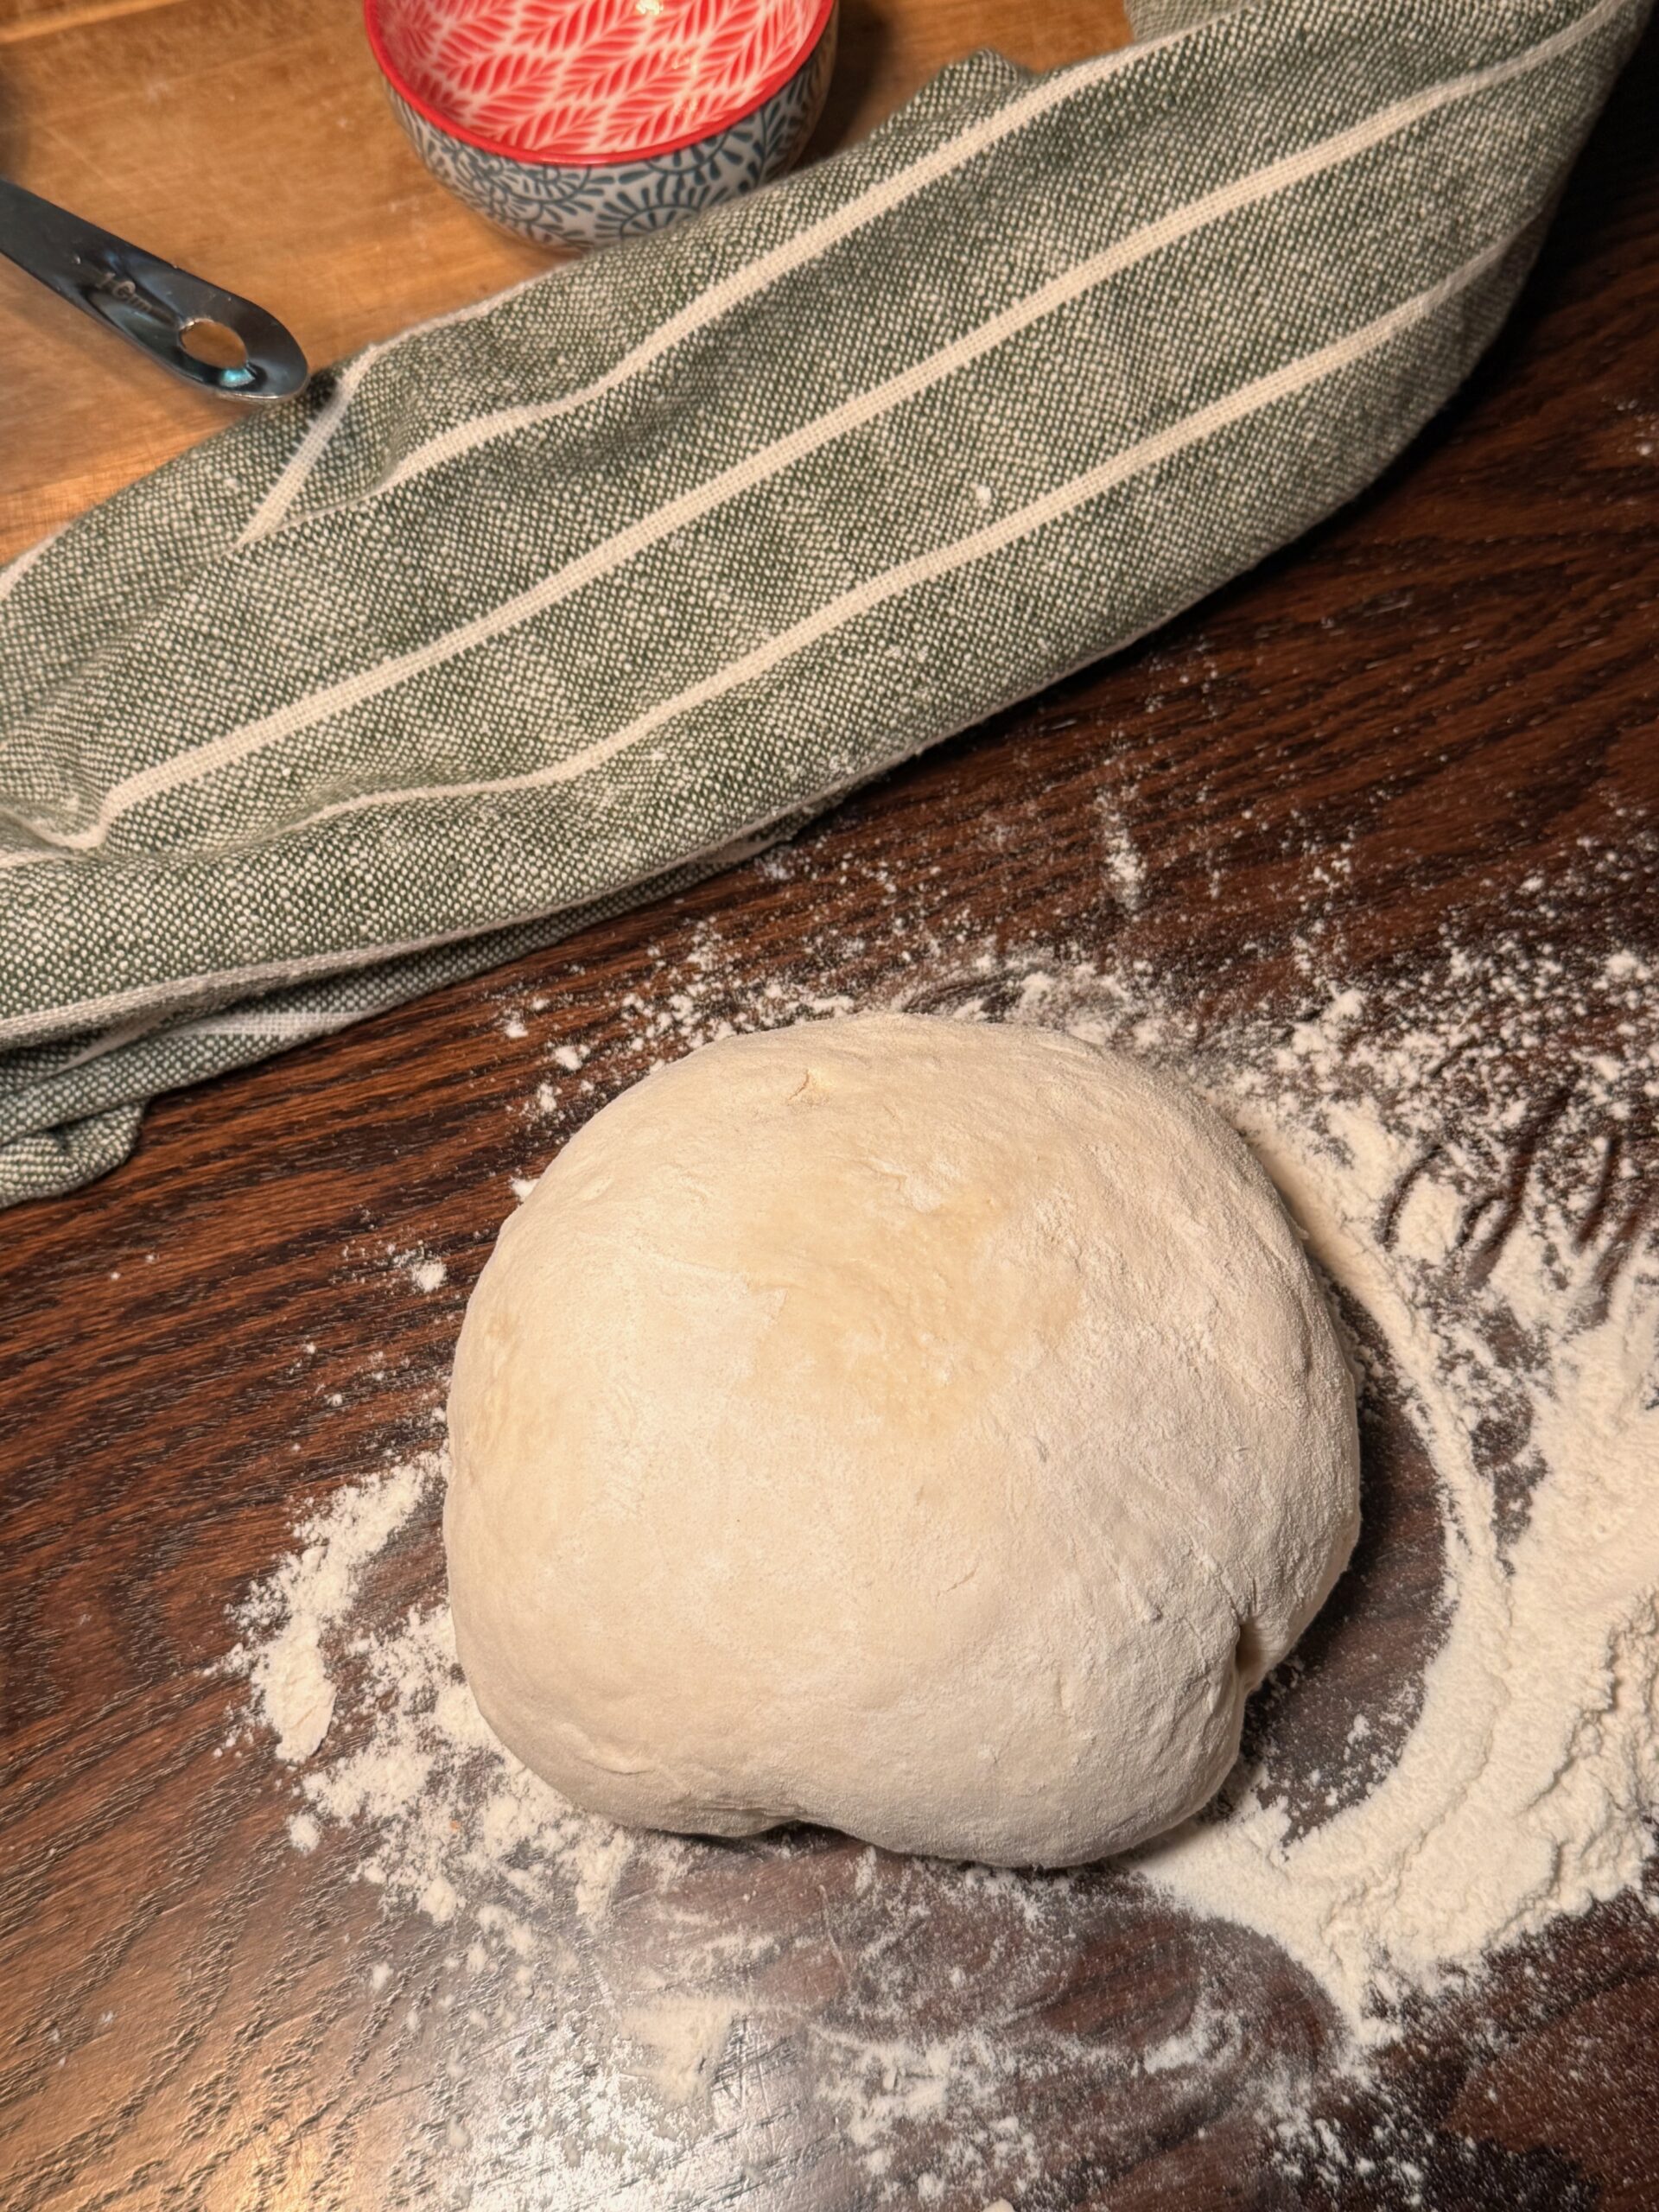
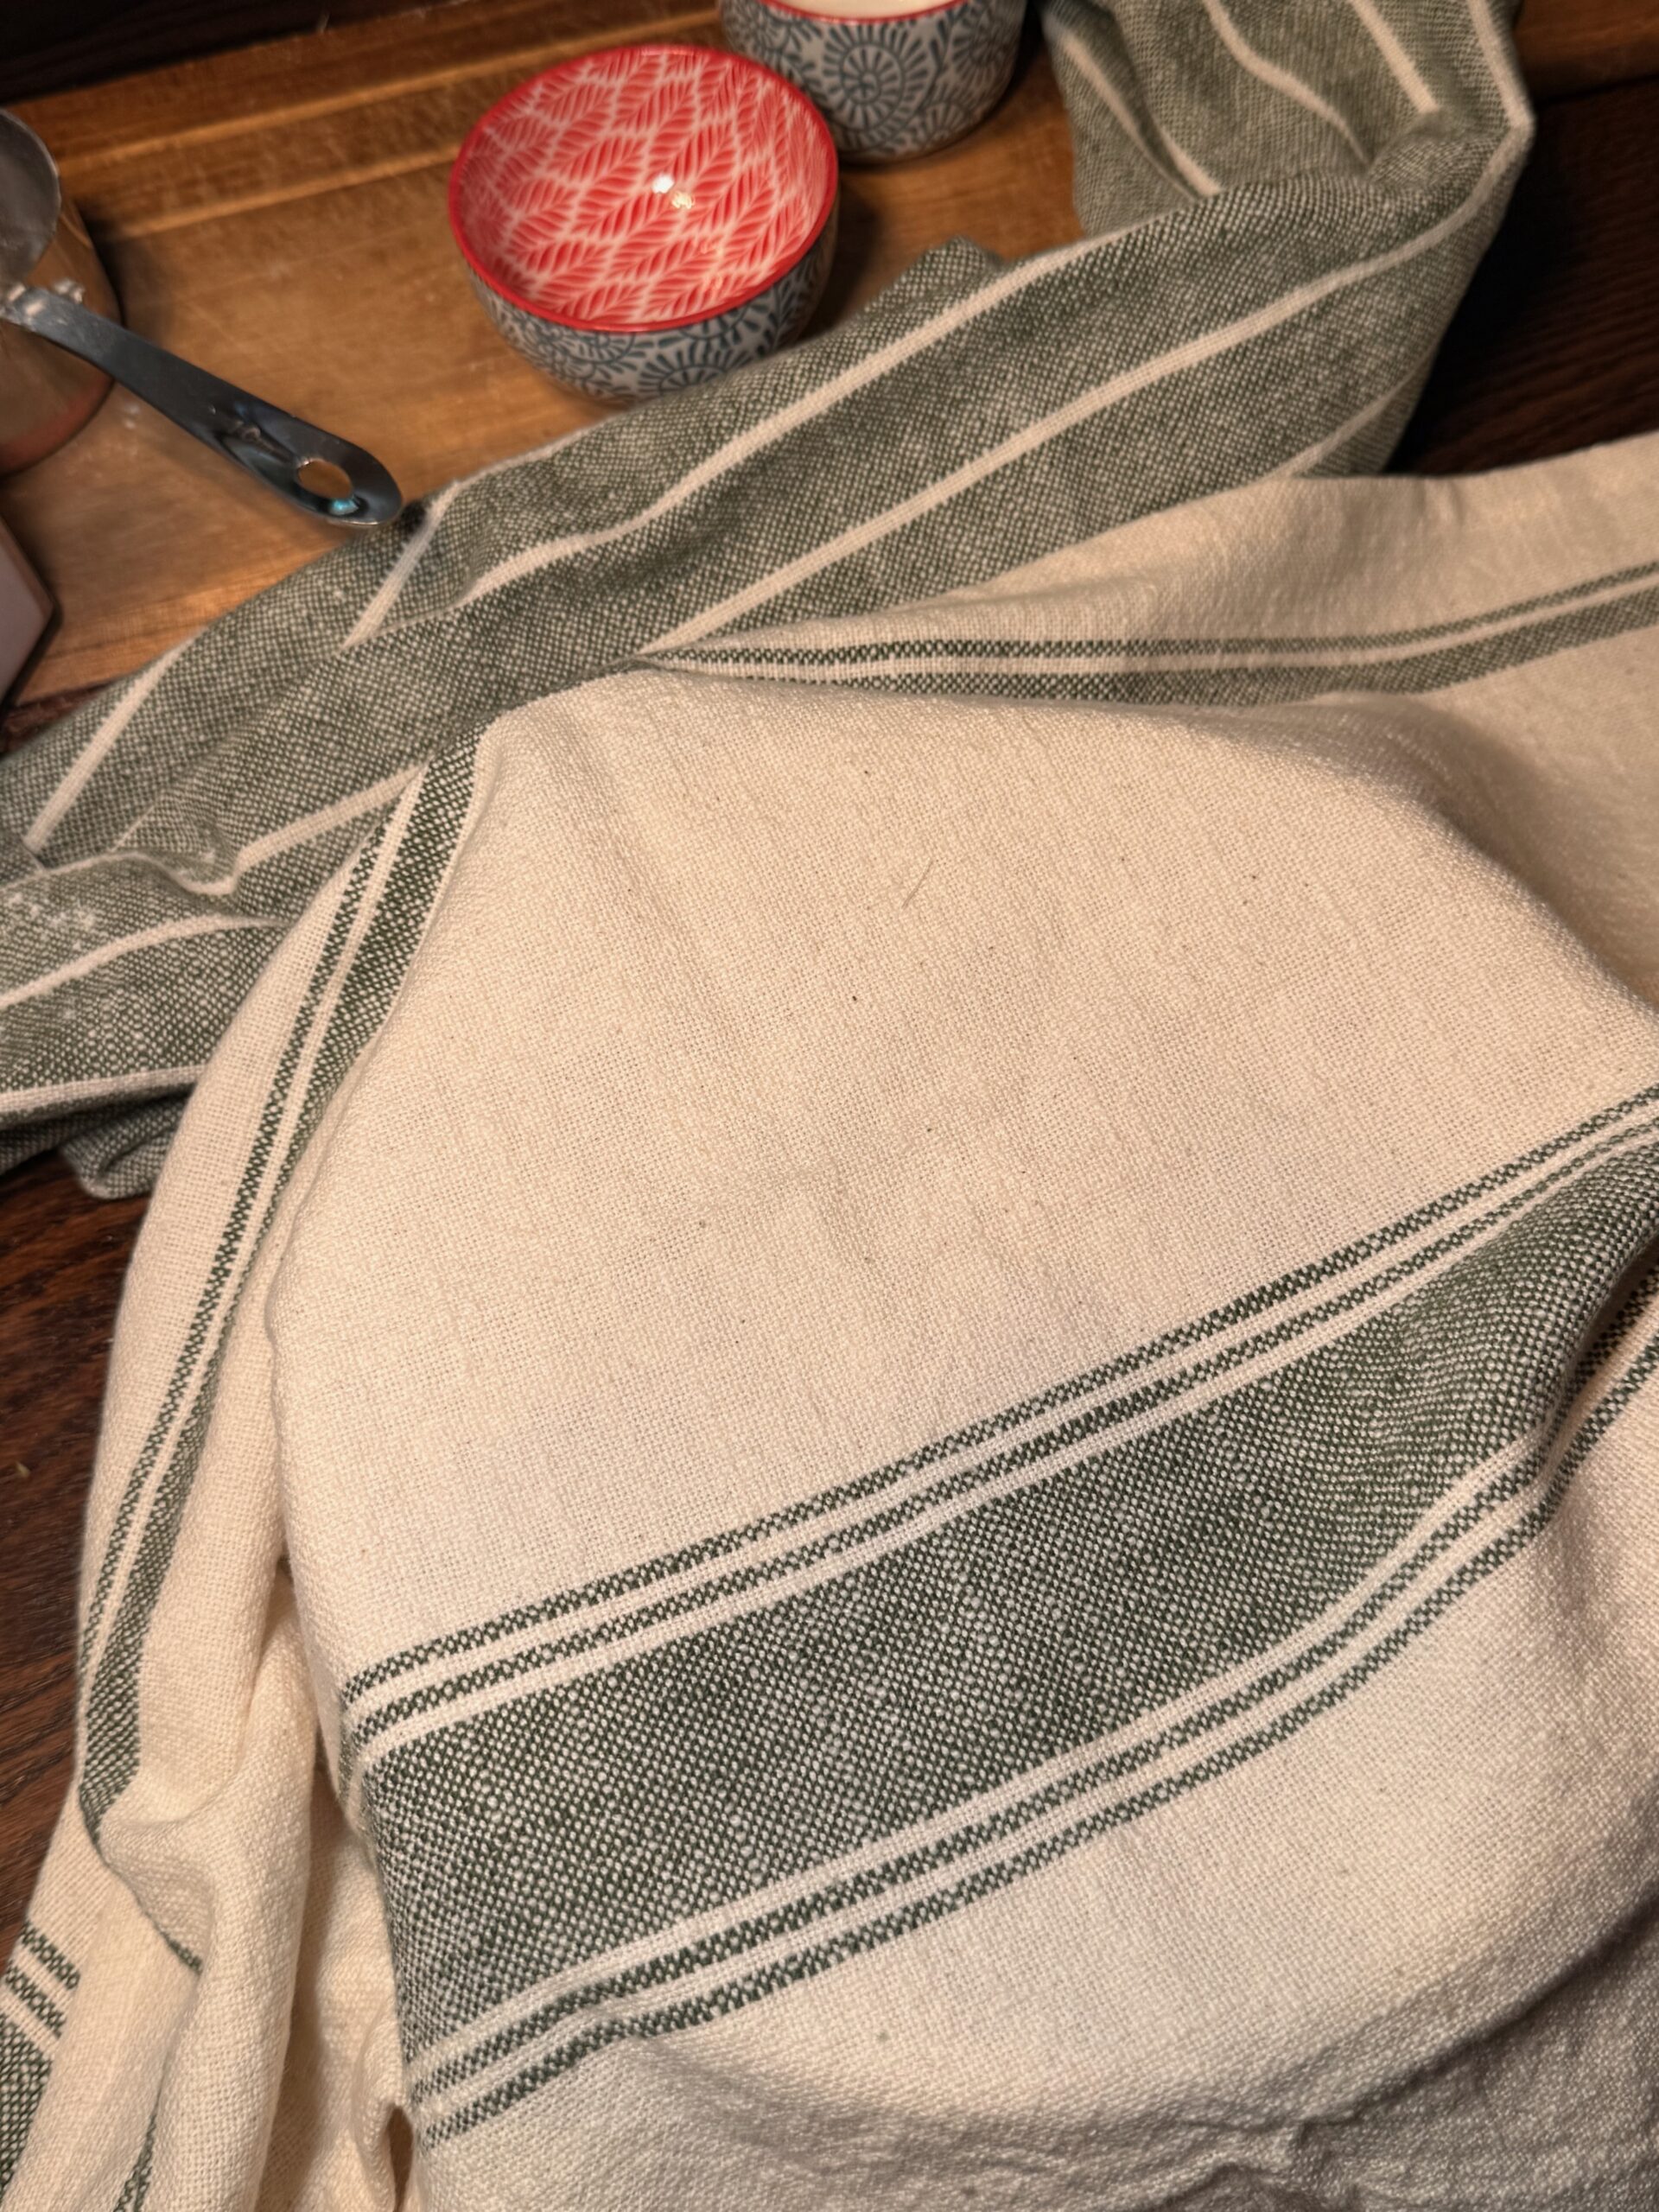
Step 5: Second Rise
Place the shaped dough in a proofing basket. Cover loosely with plastic wrap or a kitchen towel. Let rise for 1 hour.
Step 6: Preheat the Dutch Oven
About 30 minutes before the second rise is complete, place the Dutch oven with its lid inside the oven on the center rack. Place a small oven-safe pan or dish of water on the lower rack. Preheat the oven to 450°F and let both the Dutch oven and the water pan heat for the full 30 minutes.
Step 7: Bake Covered
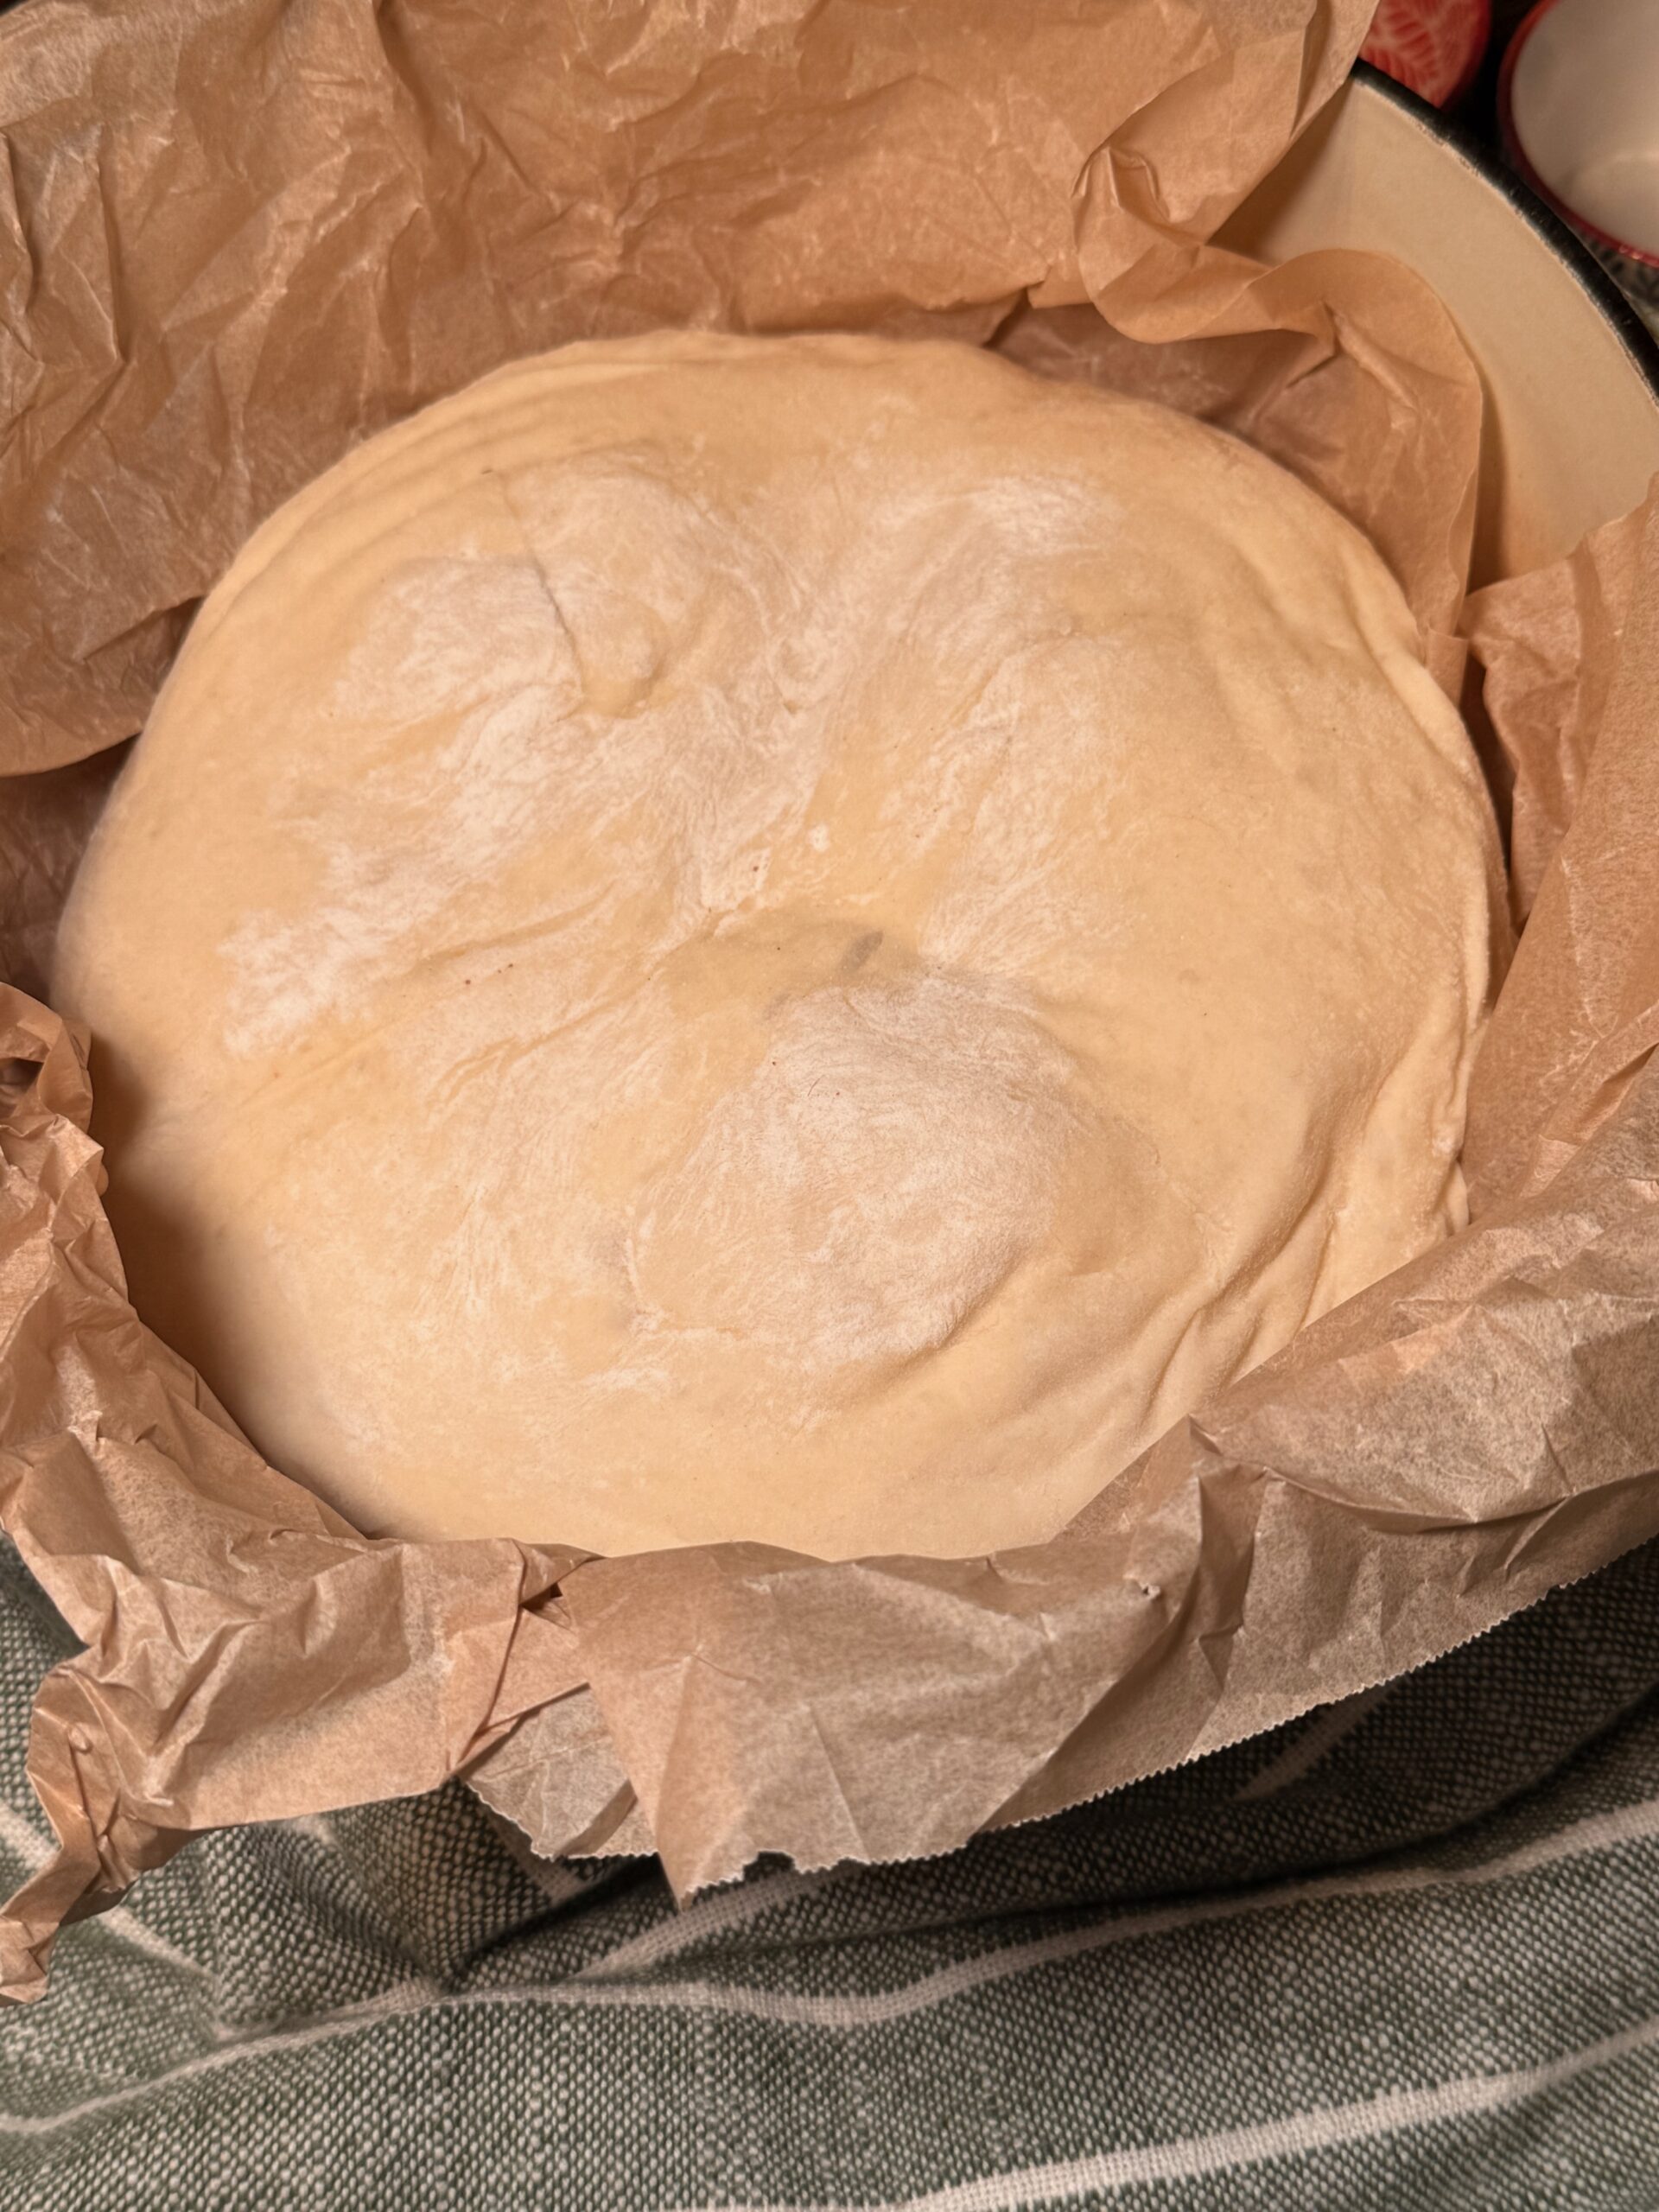
Carefully remove the Dutch oven from the oven using heavy oven mitts. Remove the lid. Using the parchment paper as a sling, lift the dough and lower it gently into the preheated Dutch oven. Cover with the lid immediately. Return to the oven and bake covered for 30 minutes.
Step 8: Bake Uncovered
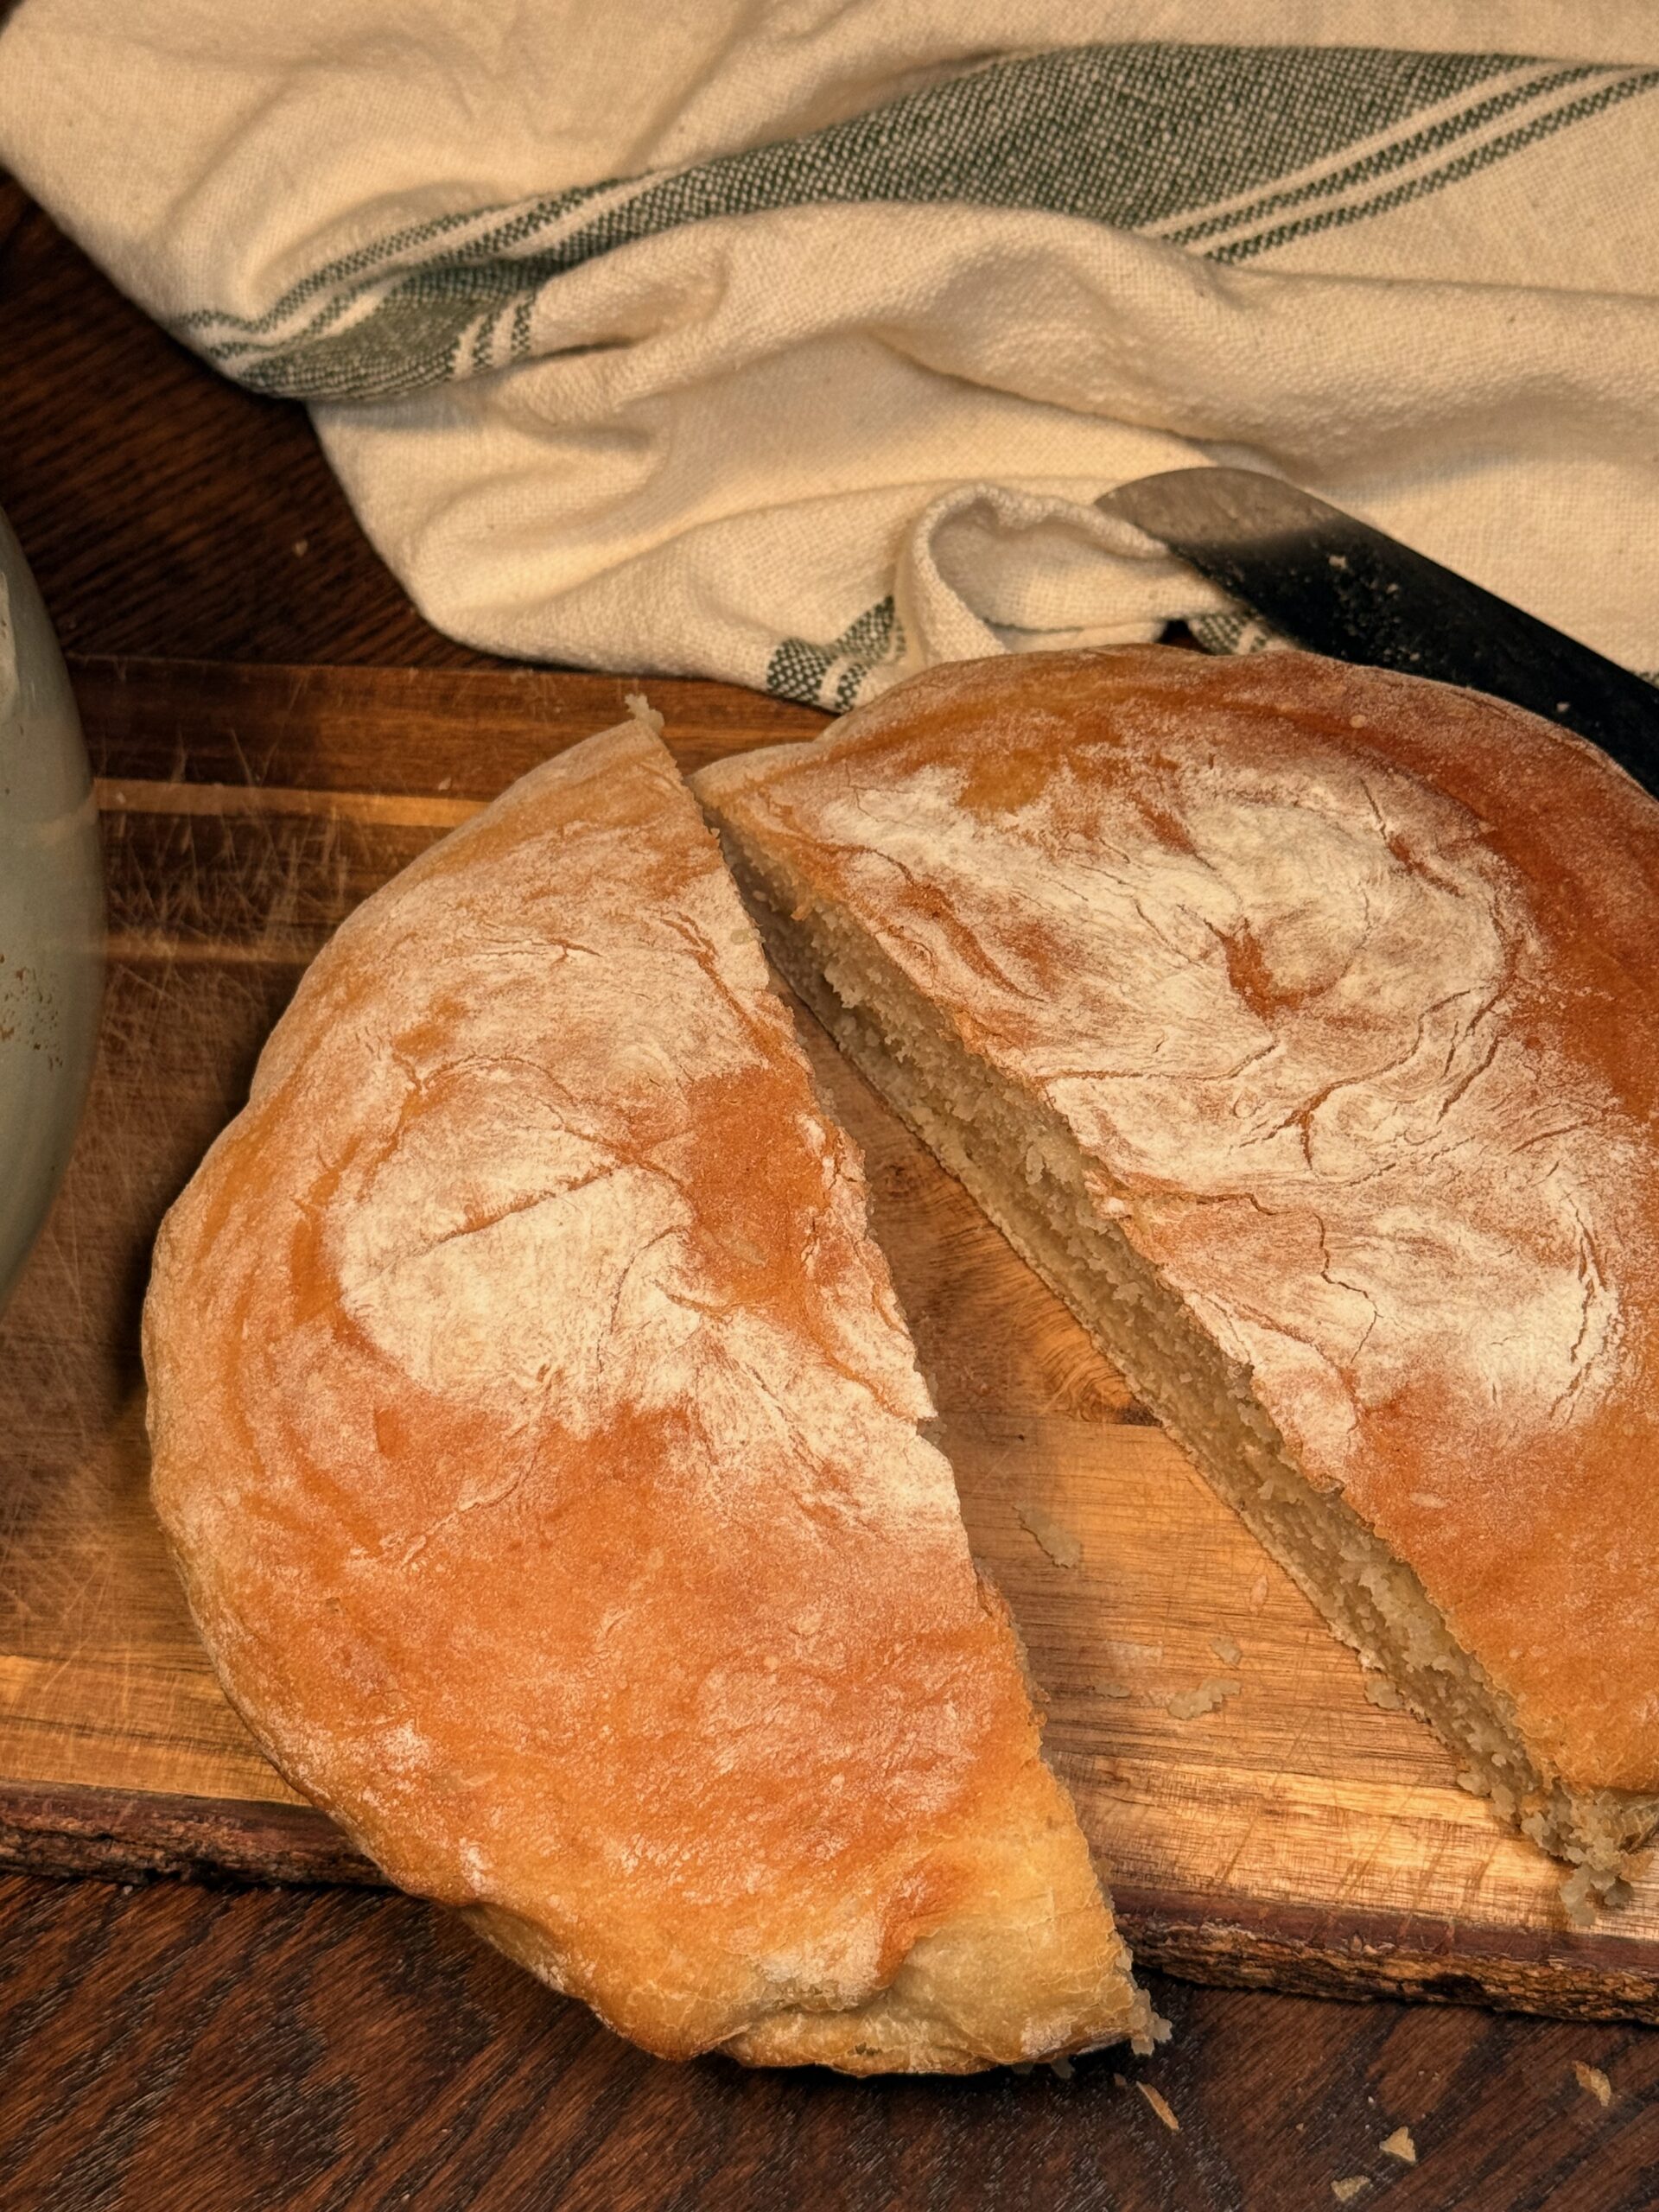
After 30 minutes, carefully remove the lid. Continue baking uncovered for another 10 minutes until the crust is deeply golden brown and the loaf sounds hollow when tapped on the bottom.
Step 9: Cool
Lift the bread out of the Dutch oven using the parchment paper and transfer to a wire rack. Let cool for at least 20 minutes before slicing.
Storing
Store the cooled loaf wrapped in a clean kitchen towel or in a paper bag at room temperature for up to 2 days. The crust will soften slightly after the first day as it absorbs ambient moisture, which most people find an equally enjoyable texture. Do not store in a plastic bag since the trapped moisture will make the crust soggy. For longer storage, slice the cooled loaf and freeze in a zip-lock freezer bag for up to 3 months. Toast slices directly from frozen.
How to Serve Dutch Oven Bread
Serve thick slices alongside the Classic Beef Stew for soaking up the rich broth is the most satisfying comfort food pairing. A simple board with olive oil, flaky sea salt, and good cheese alongside the sliced loaf makes an elegant appetizer spread with almost no effort.
Frequently Asked Questions About Dutch Oven Bread
Why does the Dutch oven need to be preheated?
Placing the dough into a cold Dutch oven and then heating it produces a different, less dramatic result than placing it into a screaming hot one. A preheated Dutch oven immediately begins baking the bottom of the loaf and producing the rapid heat that causes the oven spring, the dramatic rise that happens in the first 10 to 15 minutes of baking. It also means the covered environment is already at the right temperature to trap the steam from the dough effectively from the first moment. Always preheat the Dutch oven for the full 30 minutes for the best crust.
Why use bread flour instead of all-purpose flour?
Bread flour has a higher protein content than all-purpose flour, which means more gluten develops during the mixing and rising process. More gluten produces a stronger, more elastic dough structure that holds the gas produced by the yeast more effectively during rising and baking. The result is a taller, more open, chewier loaf with a better crust than all-purpose flour produces. All-purpose flour can be substituted in the same amount but the finished bread will be slightly less chewy and the crust slightly less dramatic.
Why not punch the dough down after the first rise?
The first rise produces gas bubbles throughout the dough from the yeast fermentation. Those bubbles are what create the open, airy, irregular crumb with large holes that defines a good artisan bread. Punching the dough deflates those bubbles and produces a denser, more uniform crumb rather than the open, airy one. Gently turning the dough out and shaping it without pressing or punching preserves as many of those bubbles as possible and produces the most interesting, most appealing interior texture.
What size Dutch oven works best?
A 5 to 6 quart Dutch oven is the ideal size for this recipe. It is large enough for the dough to expand fully during baking without being so large that the dough spreads too flat rather than rising tall. A 4 quart Dutch oven works but produces a slightly taller, more compressed loaf. Anything larger than 7 quarts may allow the dough to spread too wide and produce a flatter finished loaf.
Dutch Oven Bread
Ingredients
Instructions
- In a large bowl, combine the warm water, sugar, and yeast. Stir gently and let sit for 5 to 10 minutes until the yeast is foamy and activated.
- Add the salt and bread flour to the yeast mixture. Stir until a shaggy dough forms and no dry flour remains.
- Cover the bowl with plastic wrap or a clean kitchen towel and let rise at room temperature for 1 hour until roughly doubled in size.
- Lightly flour a clean surface. Gently pour the dough out without punching it down. Sprinkle a small amount of flour over the top. Using your hands, gently shape the dough into a round ball by tucking the edges underneath. Do not knead or deflate.
- Place the shaped dough in a proofing basket. Cover loosely and let rise for another 1 hour.
- About 30 minutes before baking, place the Dutch oven with its lid in the oven and preheat to 450°F. Also place a small oven-safe pan of water on the lower rack to create steam.
- Put parchment paper (carefully) in the bottom of the dutch oven and put the dough in. Cover with the lid.
- Bake covered for 30 minutes. Remove the lid and continue baking for another 10 minutes until the crust is deeply golden brown.
- Lift the bread out using the parchment and let cool on a wire rack for at least 20 minutes before slicing.
Notes
- Do not punch the dough down when you turn it out. The air bubbles built up during the first rise are what create the open, airy crumb inside the finished loaf. Gentle handling preserves them.
- The preheated Dutch oven is essential. Placing the dough into a screaming hot covered pot traps the steam released by the dough and produces the crackling, blistered crust that defines a great artisan loaf.
- The pan of water on the lower rack adds extra humidity to the oven during the covered bake and further supports the crust development.
- Let the bread cool for at least 20 minutes before slicing. Cutting too early releases steam from the interior before the crumb has finished setting and produces a gummy texture.